
In this article, we will learn How to Install and Configure DHCP Server on Windows Server 2019 Step by Step. We will also cover How to authorize a DHCP server; How to create and configure scopes.
In nowadays networks, the DHCP service is used by workstations, Preboot Execution Environment (PXE) network boot clients, printers, mobile devices (i.e. smartphone or tablet), IP-based phones, data scanners, etc. Each system must have its own unique IP address to communicate over the network. There are two ways to have clients and servers get TCP/IP addresses:
- You can manually assign the addresses.
- The addresses can be assigned automatically.
Manually assigning addresses is a fairly simple process if you have a fewer systems. Now think you are a network administrator and you have to assign IP addresses, subnet masks, default gateways, and all other configuration options needed to run the network on 2000 systems. Manually doing this is a nightmare for any network administrator and you can not expect the end-user to do the same. This is where DHCP comes into play.
DHCP Stands for Dynamic Host Configuration Protocol and its job is to centralize the process of IP address and network configuration option assignment.
How to Install DHCP Server
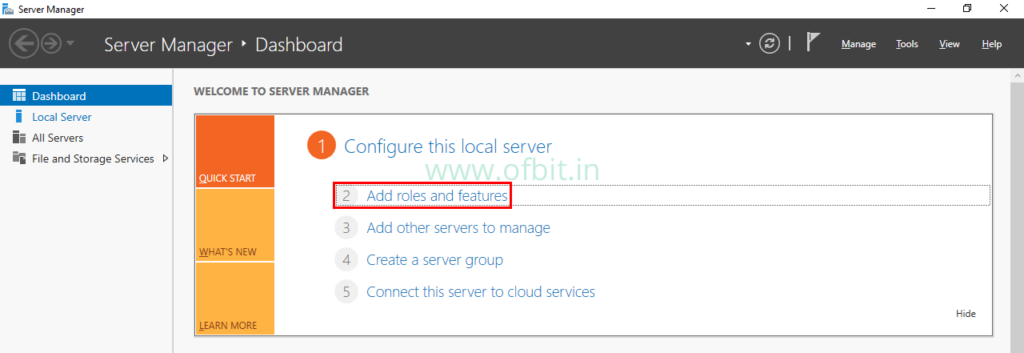
Step 1: Open Server Manager and Click Add roles and features.
To open the Server Manager, you can press the Windows+ R to open the Run or open the Command Prompt. Then type ServerManager and press Enter.
Step 2: Click Next on the ‘Before You Begin’ page.
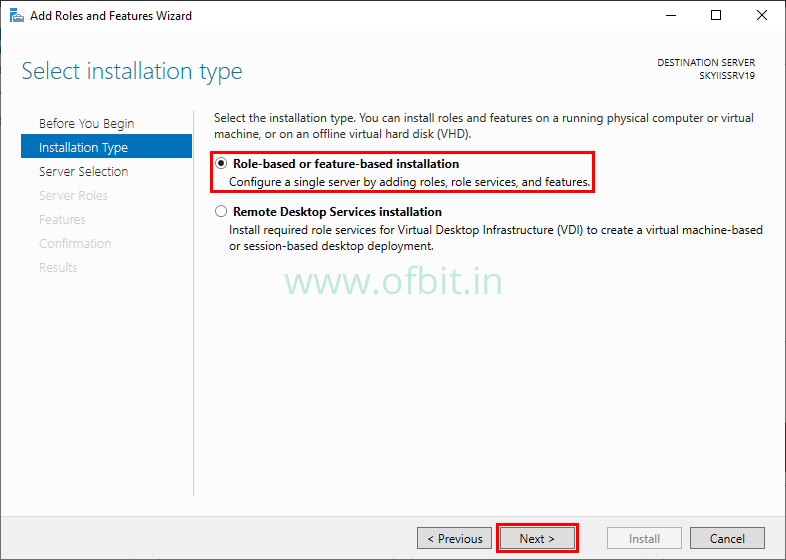
Step 3: Select Role-Based or Feature-Based installation.
On this screen, Click Next with the default selection.
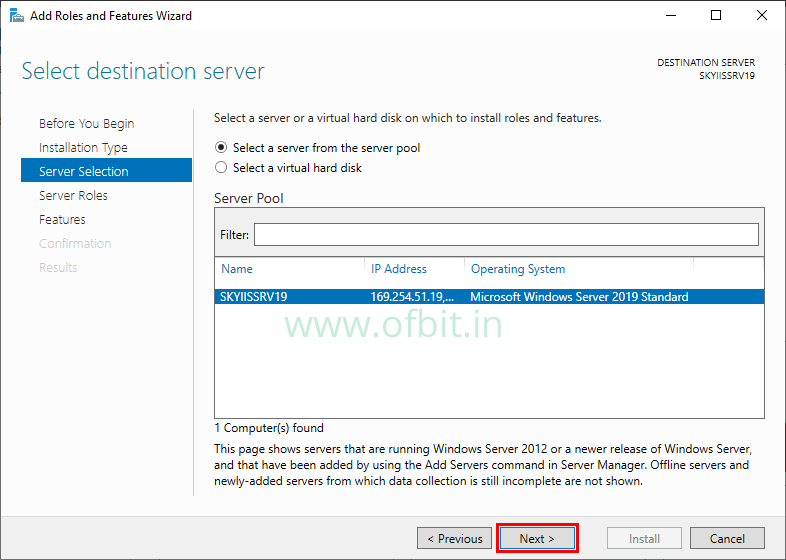
Step 4: Select Destination Server.
From the server pool select the Local Machine to Install DHCP server role and click Next.
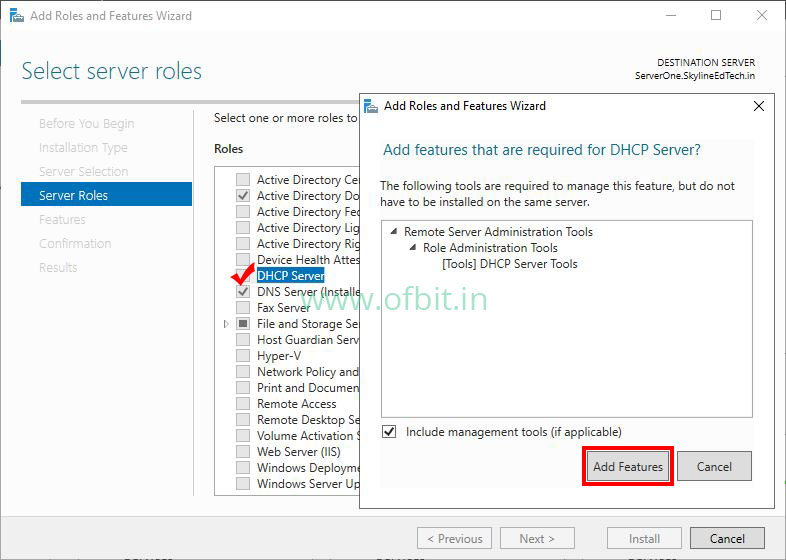
Step 5: Select DHCP Server role and Features to install.
Select the DHCP Server check box from the Roles. On the pop-up page, click Add Features. And then click Next to continue.
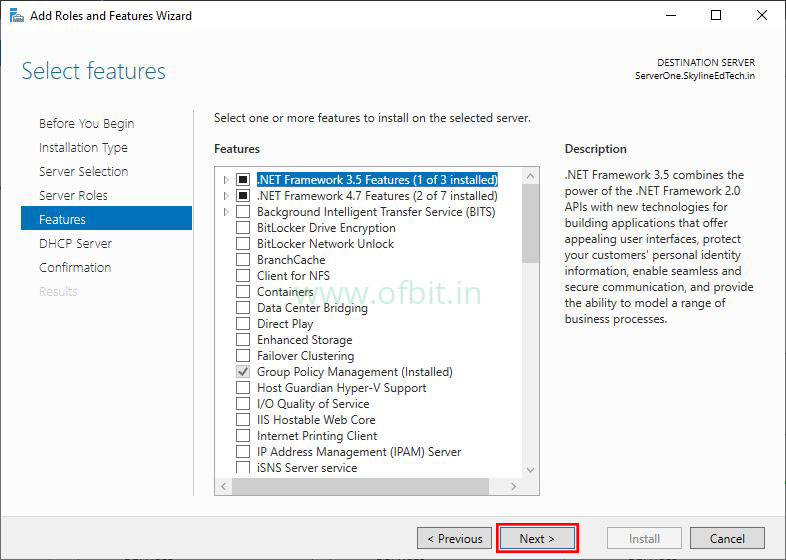
Step 6: Click Next with the default selection on the Features selection.
Step 7: On the Introduction to DHCP Server page, click Next.
This screen will share the details about DHCP Server and things to be noted. You can go through it once and then click Next.
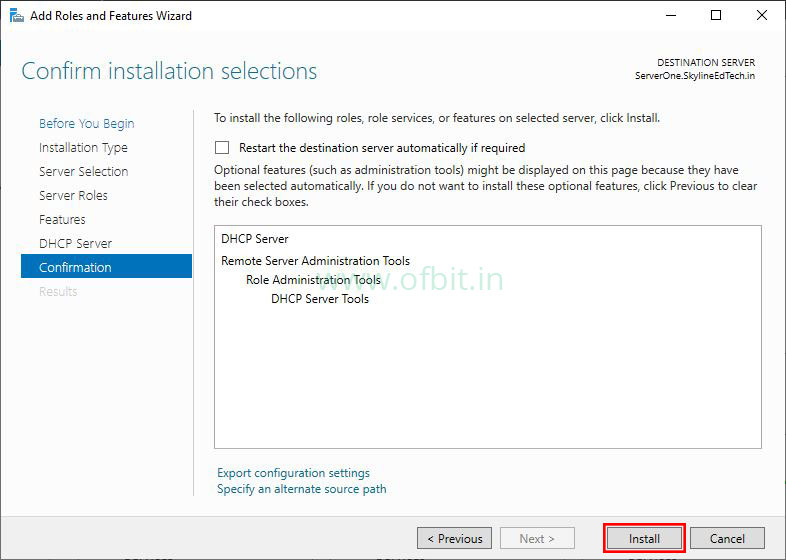
Step 8: Confirm Installation Selections.
At this Confirm installation sections screen, to install DHCP Server roles on the selected server, click the Install button.
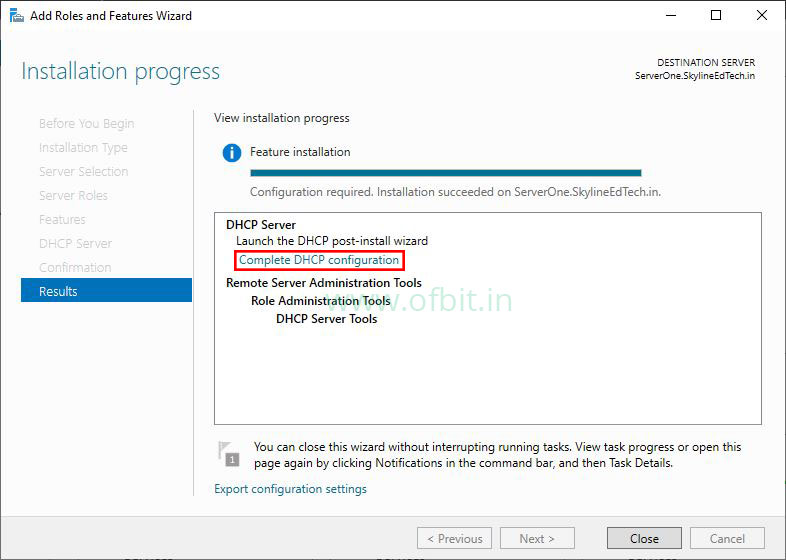
The Installation Progress screen will show you how the installation is progressing. Once the installation is complete, we have to Setup DHCP Server. Click on Complete DHCP configuration.
Configure DHCP Server on Windows Server 2019
So far, we have Install DHCP Server. Now we will see How to Configure DHCP Server on Windows Server 2019. We also have the ability to authorize a DHCP server during the installation of DHCP if you are installing DHCP onto an Active Directory machine.
In the following section, we will perform DHCP Configuration:
- Authorizing a DHCP server.
- Creating and Managing DHCP Scopes.
Suggested Article: Install Active Directory in Windows Server 2019.
Authorize DHCP Server in Active Directory
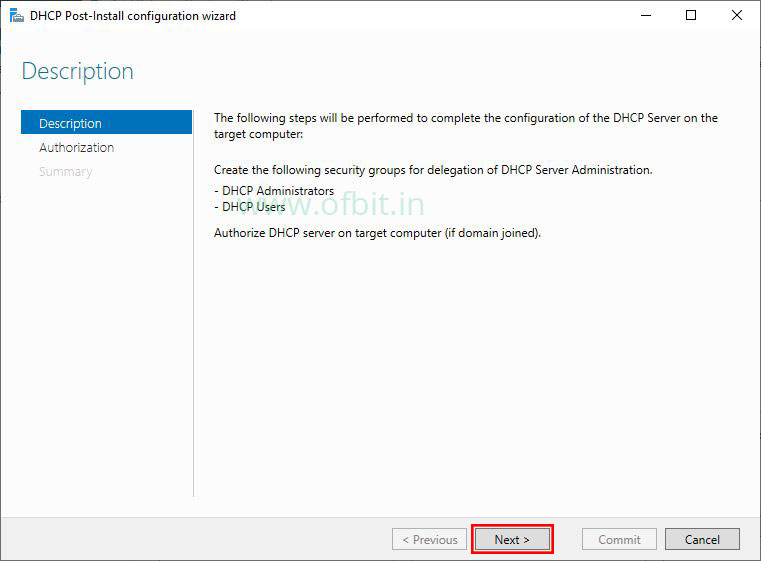
On the DHCP Post-Install configuration wizard, the following steps will be performed to complete the DHCP server configuration.
Step 1: Creating a Security Group.
Click Next to create the following security groups for delegation of DHCP Server Administrator at this Description screen.
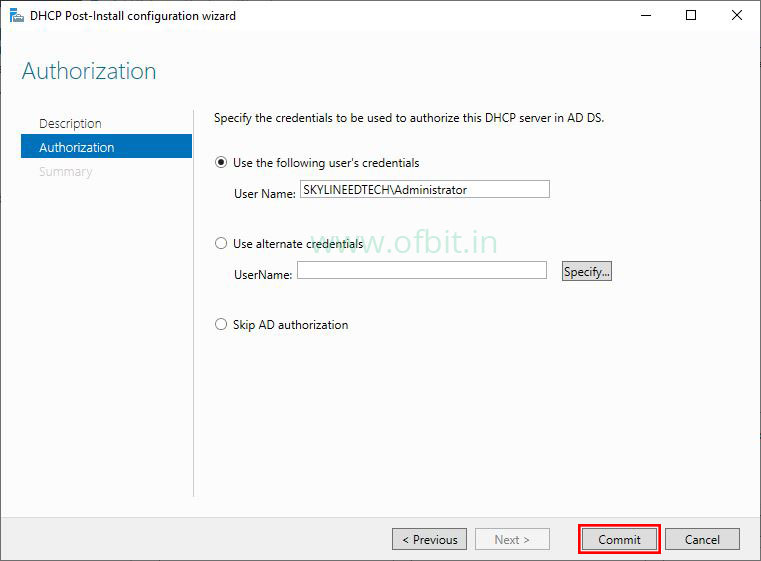
Step 2: Specify the credentials to be used to Authorize DHCP Server in AD DS.
On this screen, use the Administrator or any other alternate credentials to authorize the DHCP server in Active Directory. In the case of a standalone or non-domain joined system, you can select Skip AD authorization.
Click Commit.
Step 3: Post Install configuration Summary
This screen will provide you the status of the DHCP configuration. If both the DHCP configuration indicates Done, we are good to go. Click Close.
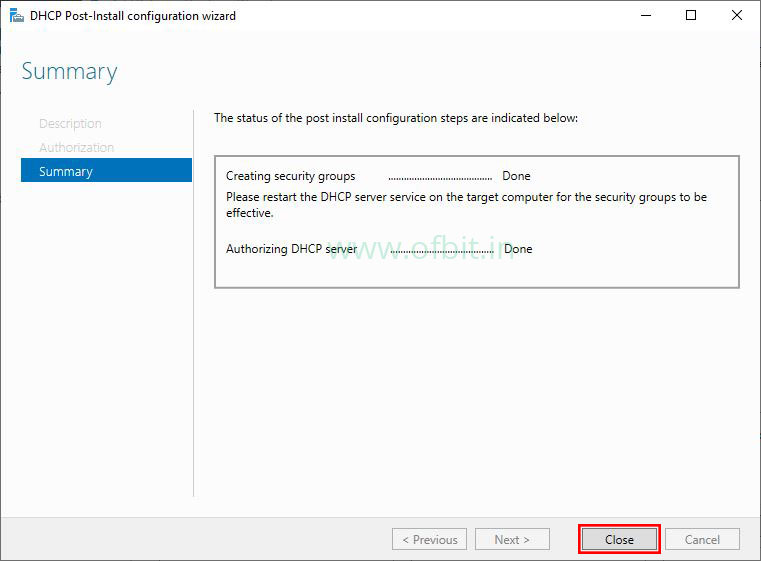
Now to complete the DHCP Configuration effectively, restart the server once.
Next, we have to Configure DHCP Scope to complete the DHCP Configuration.
Follow us:
If you like our articles and tutorials, you can follow us on Facebook. Also, join our Official Facebook Group for QnA sessions and Discussions with the worldwide technical community.


[…] In our previous article, we have learned How to Install and Configure DHCP Server on Windows Server 2019. […]