
In this tutorial, we will learn How to Install Active Directory in Windows Server 2019. I will go through step by step, which also applicable on Windows server 2016.
Before we start Installing the AD Server, it is recommended that the Local Server should be configured with static IPv4. In case of IP address changes, clients might not be able to contact the AD server. Also, Rename the server with a proper name so that you don’t need to think of any changes post AD Server role installation.
How to Install Active Directory in Windows Server
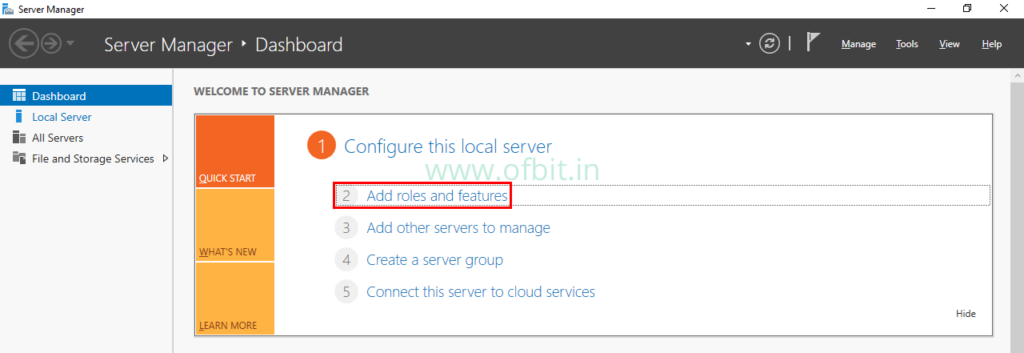
Step 1: Launch Server Manager and Click Add roles and features.
Alternatively, you can press the Windows+ R to open the Run or open the Command Prompt. Then type ServerManager and press Enter.
Step 2: Click Next on the ‘Before You Begin’ page.
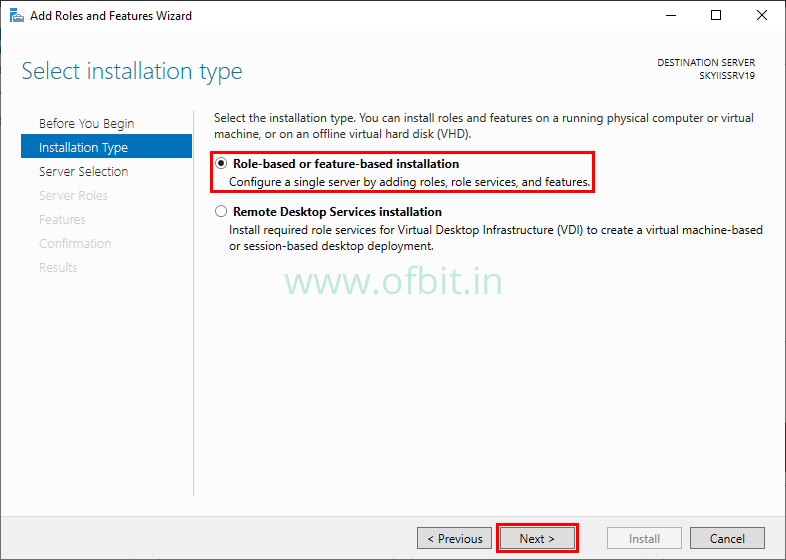
Step 3: Select Role-Based or Feature-Based installation.
On installation type page leave the default selection and click Next.
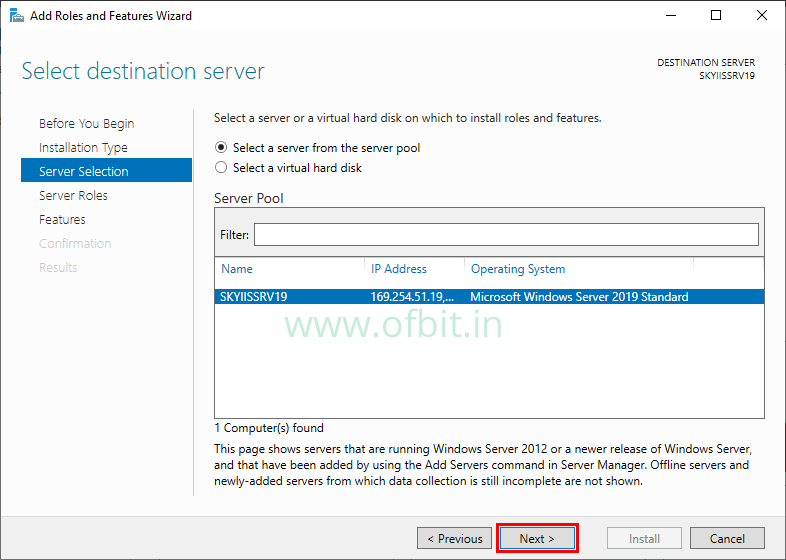
Step 4: Select Destination Server.
Select the Local Machine from the server pool to Install AD server role and click Next.
Step 5: Select Active Directory Server Role and Features that are required for Active Directory Server.
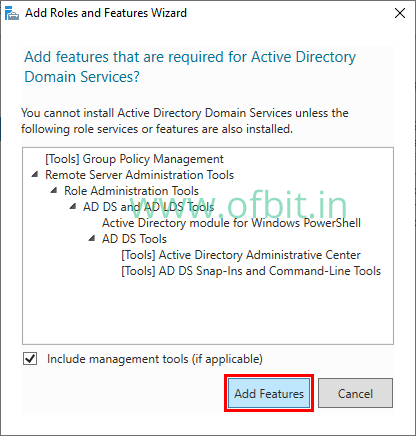
Select the Active Directory Domain Services check box from the Roles.
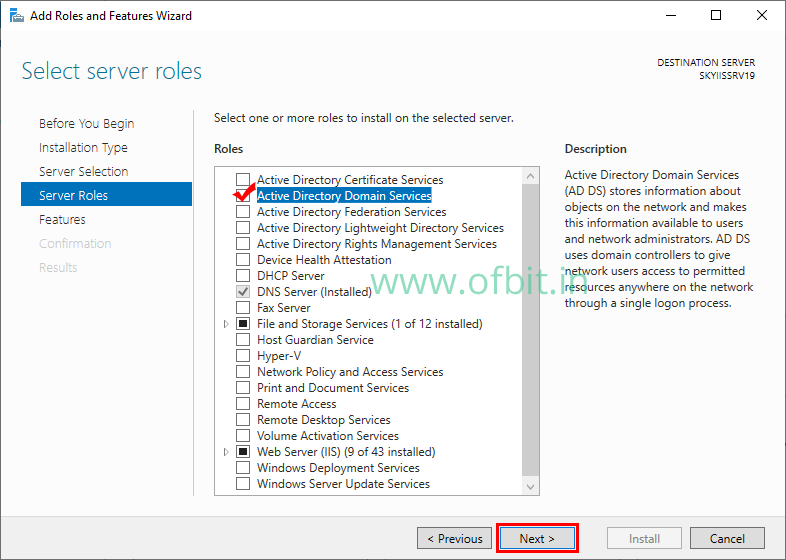
On this pop up page, click Add features. And then Click Next to continue.
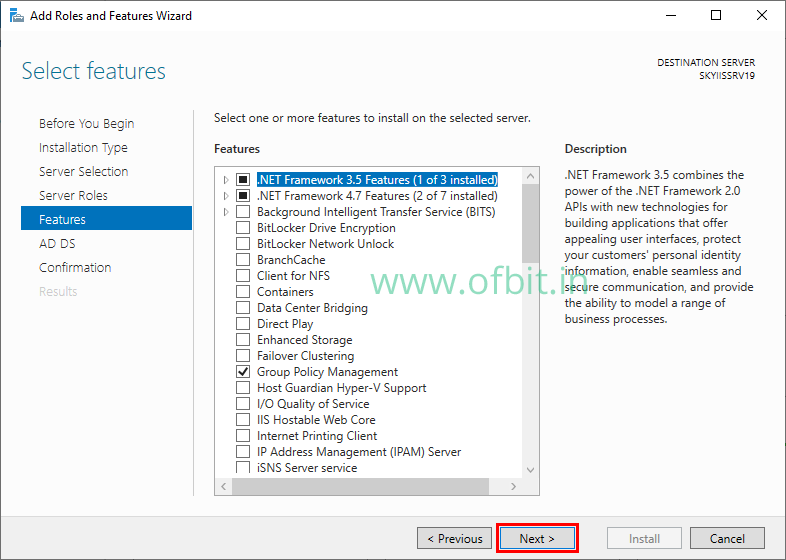
Step 6: Click Next with the default selection on the Features selection.
Group Policy Management feature will be selected by default. Make sure .NET Features are also selected.
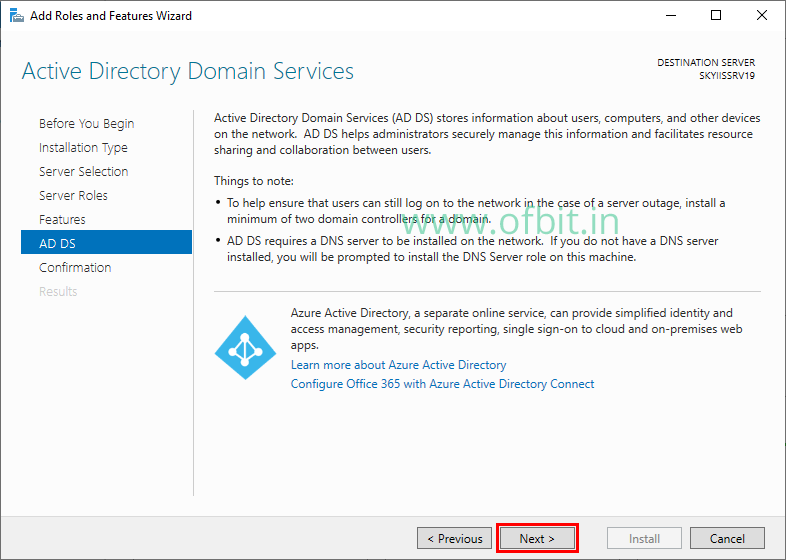
Step 7: Click Next on the Introduction to AD Server page.
This page will give you an introduction and things to notes for the AD Server. Click Next to continue.
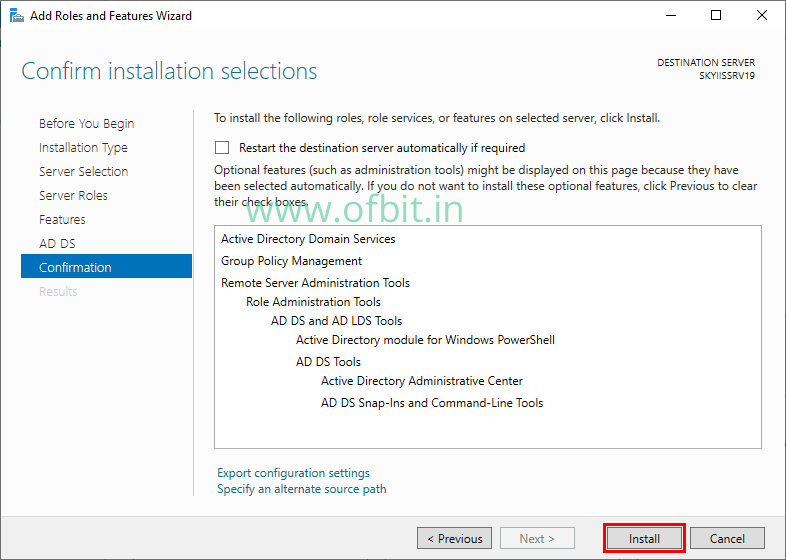
Step 8: Confirm Installation Selections.
On this Confirmation page click Install to install AD Server Role.
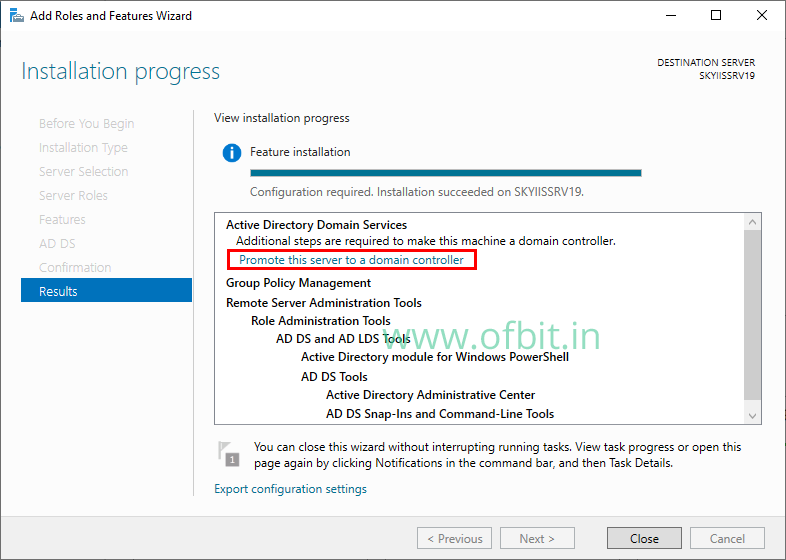
The Installation Progress screen will show you how the installation is progressing.
Once the installation is complete, we have to Setup the Active Directory. Click on the Promote this server to a domain controller.
Configure Active Directory in Windows Server
At this point, we will configure this domain controller. We are going to install a new domain controller in a new domain in a new forest.
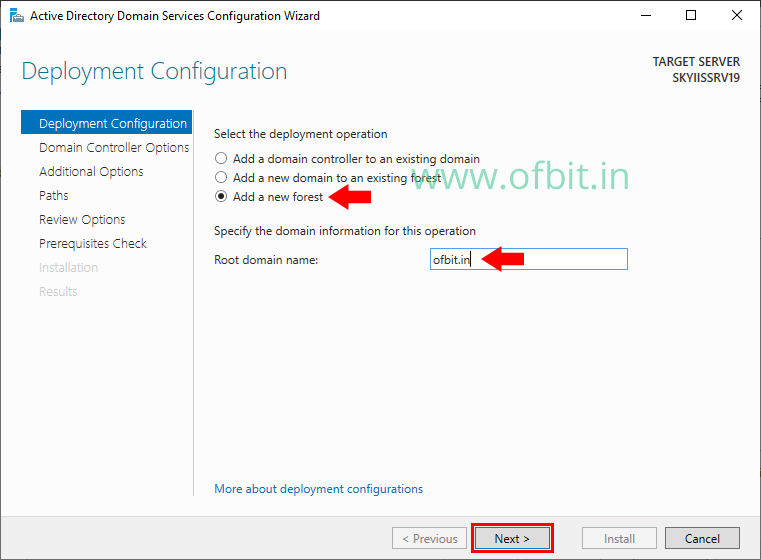
Step1: Add a new forest and specify the root domain name.
At the Deployment Configuration screen, choose the Add A New Forest radio button. And specify the root domain name.
In this tutorial, I will use ofbit.in. Click Next.
Step 2: Select Domain controller functional level and capabilities.
At the Domain Controller Options screen, we set the following options:
Functional Level: Select Windows Server 2016 for both the Forest functional level and Domain functional level.
Domain Controller capabilities: Since this is the first domain controller, the DNS, and Global Catalog checkboxes are checked by default.
DSRM Password: Enter the password for Directory services restore mode. Click Next.
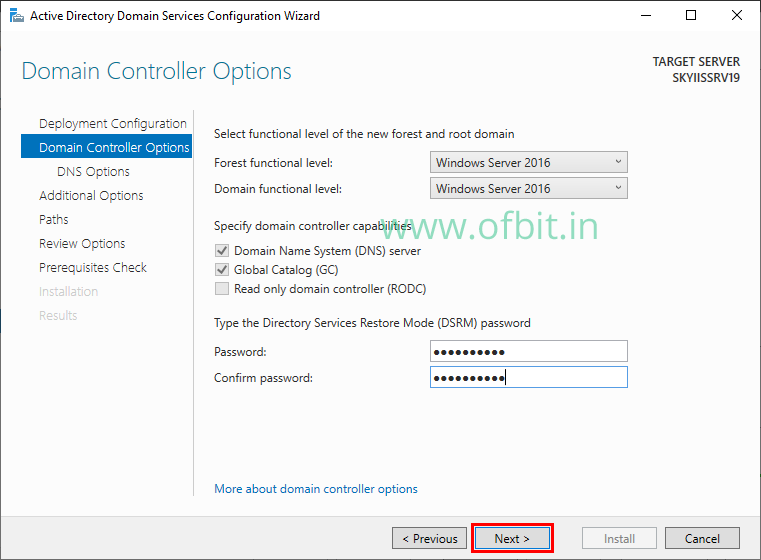
Here you find RODC check box is greyed out. Because this is our first domain controller in the forest. RODCs need to get their Active Directory database from another domain controller, so RODCs are only possible if you are installing a member server.
Step 3: Leave default and click Next on DNS Options screen.
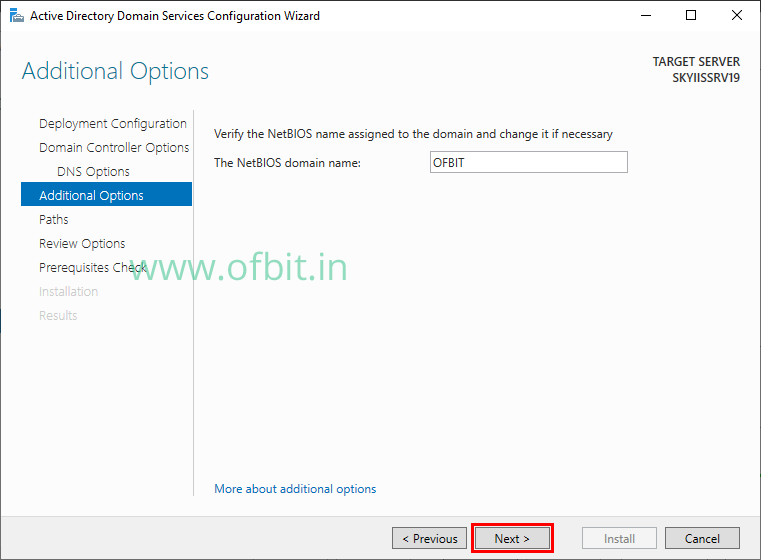
Step 4: Assign a NetBIOS name.
At this Additional Options screen, accept the default NetBIOS domain name. If necessary you can change it. Click Next.
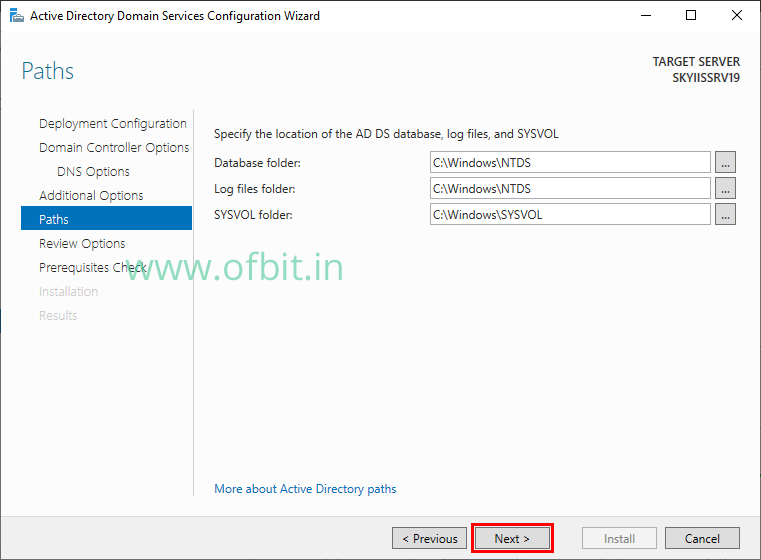
Step 5: Specify the location of the AD DS Database, log files, and SYSVOL.
At the Paths screen, accept the default file locations and click Next.
Step 6: Review your settings.
At the Review Options screen, verify your settings and click Next.
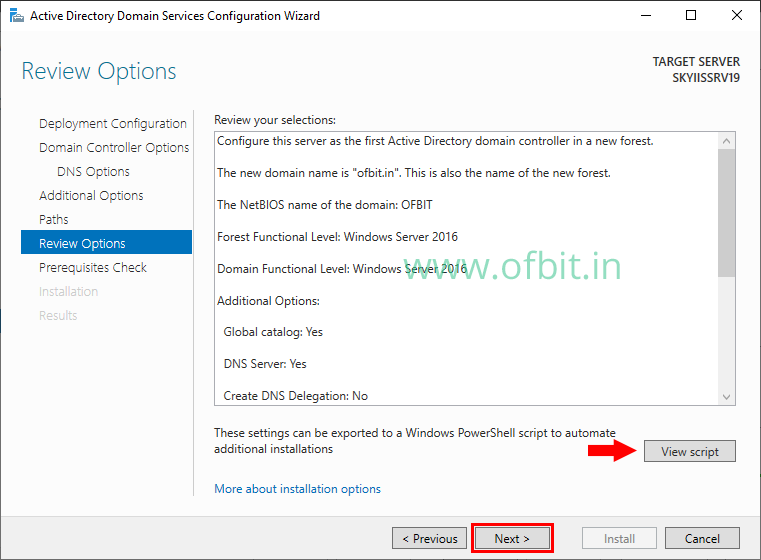
You can export Windows PowerShell script based on the features you have just set up by clicking the View script button. This will help you to automate the additional installations.
Step 7: Verify the Prerequisites Check.
If all the prerequisite checks passed, you are good to go. Click Install to begin the installation.
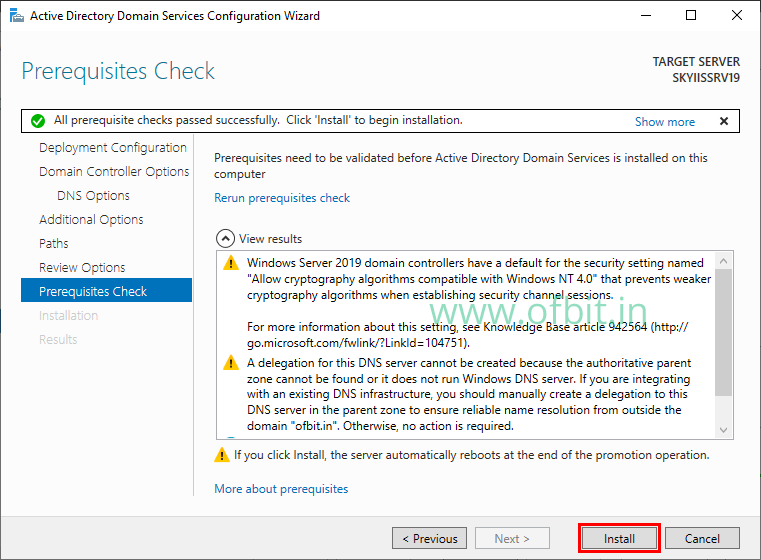
If you are worried about the Warnings, these are OK just as long as there are no errors.
Confirm AD DC installation
Once the installation completes, the machine will automatically reboot. Now login with your administrator account.
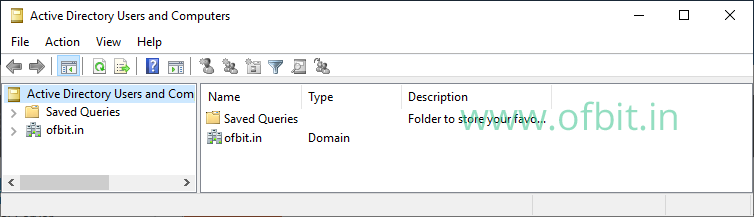
Click the Start button and then choose Administrative Tools. You should see new MMC snap-ins for Active Directory.
Now open Active Directory Users and Computers to make sure you have successfully Install Active Directory Server Role and it’s configured and working.
So, we have successfully installed Active Directory and configured it to promote this server to a domain controller. As already told these steps are also applicable in other versions of Windows Servers. Comment below if you have any doubt. Hope you find this tutorial helpful.
Follow us:
If you like our articles and tutorials, you can follow us on Facebook. Also, join our Official Facebook Group for QnA sessions and Discussions with the worldwide technical community.