In this article, we will learn How to Configure DNS Forward Lookup Zone in Windows Server 2019 Step by Step. By creating a Forward Lookup Zone, it helps DNS Server to resolve the queries where the client sends a hostname name to the DNS Server to request the IP address of the host. Basically, in simple words, Forward Lookup Zone provides FQDN to IP address resolution.
Before we start DNS Server configuration, we recommend you to check this article, How to Install DNS Server on Windows Server 2019.
How to Create DNS Forward Lookup Zone
Step 1: Open DNS Manager.
Click on the Tools from the Server Manager and then from the drop-down select DNS.
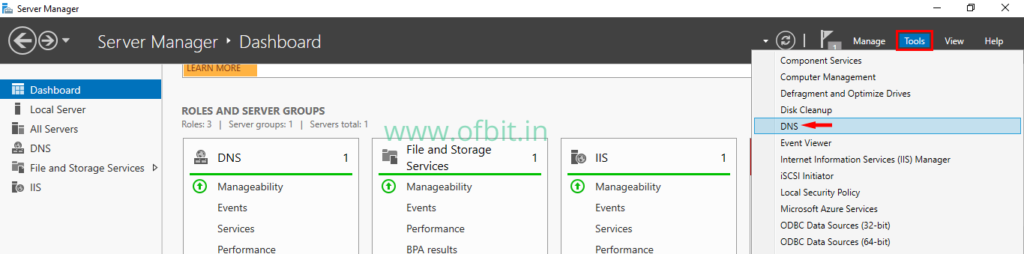
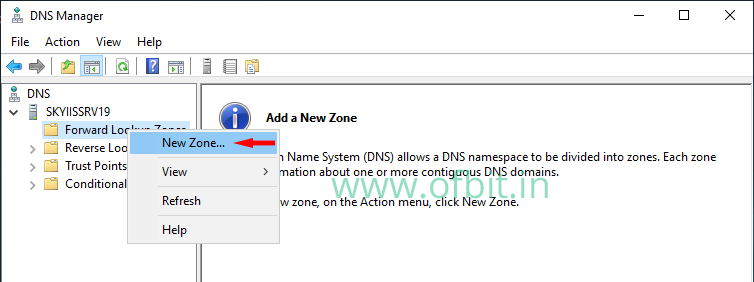
Step 2: Open New Zone Wizard.
Click the Server name to expand the options. Right-click on the Forward Lookup Zone and select New Zone…
On the Welcome to New Zone Wizard screen, click Next to continue.
Step 3: Select Zone Type.
In this screen select the type of zone to be created. in this case, choose Primary Zone and click Next.
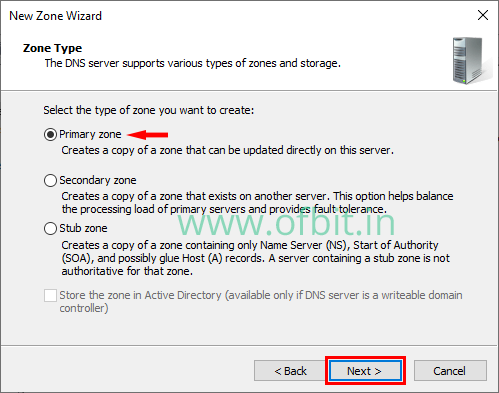
If the server is a writable domain controller, the Store the Zone in Active Directory check box is available.
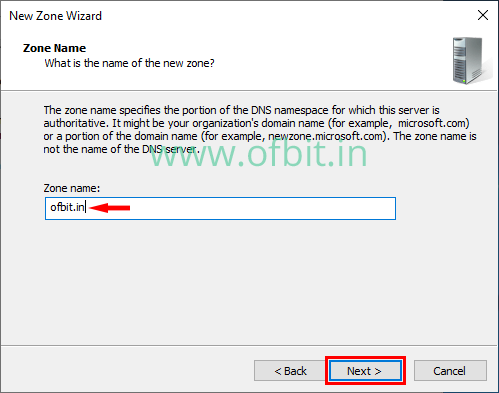
Step 4: Specify the Zone Name.
In this screen type the FQDN of the zone in the Zone Name box, and then click Next.
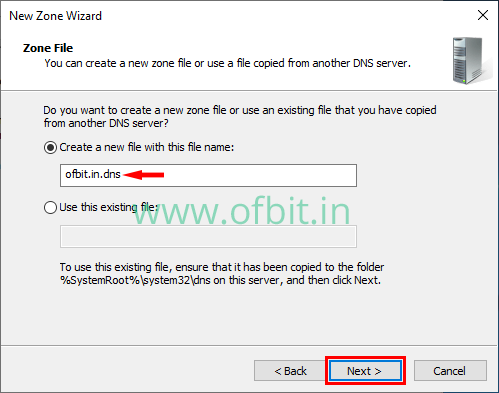
Step 5: Create a Zone File.
In this screen, if creating a non-AD-integrated zone, you can create a new zone text file or import one from an existing zone file. Here we choose to Create a New File with This File Name and accept the default Filename. Click Next to continue.
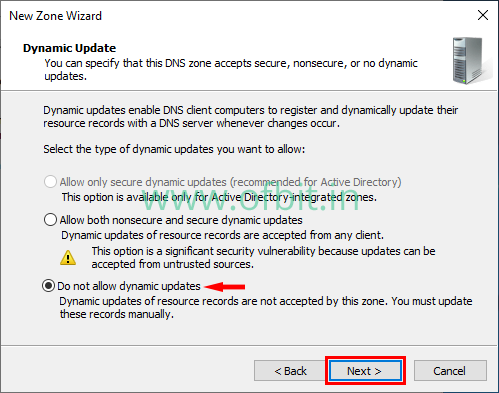
Step 6: Dynamic update.
This screen allows a zone to either accept or decline dynamic updates. We will leave dynamic updates disabled by selecting the Do Not Allow Dynamic Updates option button and click Next.
Step 7: Completing the New Zone Wizard.
Click Finish, to close this wizard and create the New Forward Lookup Zone.
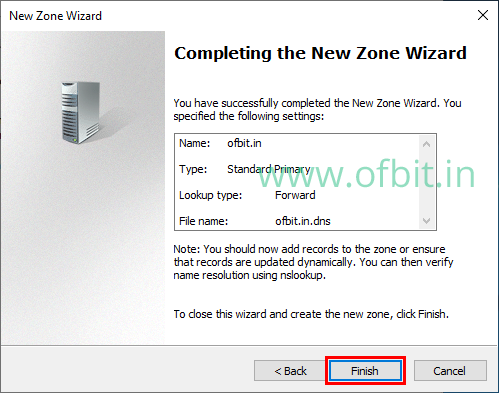
We have successfully Configured the DNS Forward Lookup Zone in Windows Server 2019. You can now add records to the Zone and verifying them using nslookup command.
Next we have to configure a Reverse Lookup Zone.
Follow us:
If you like our articles and tutorials, you can follow us on Facebook. Also, join our Official Facebook Group for QnA sessions and Discussions with the worldwide technical community.