In this article, we will learn How to Use Diskpart Utility on Windows 10. It is a very powerful tool, using Diskpart you can format your Storage device completely and solve many storage-related issues.
Before we start, make sure you take the backup as Diskpart erase all the data and information or in one word everything from the storage media. Once complete, roll-back the process is impossible.
Related Article: How to Format Drive using Command Prompt [Step by Step]
How to Use DiskPart Utility to Clean and Format a Drive
Step 1: Open Command Prompt as an Administrator.
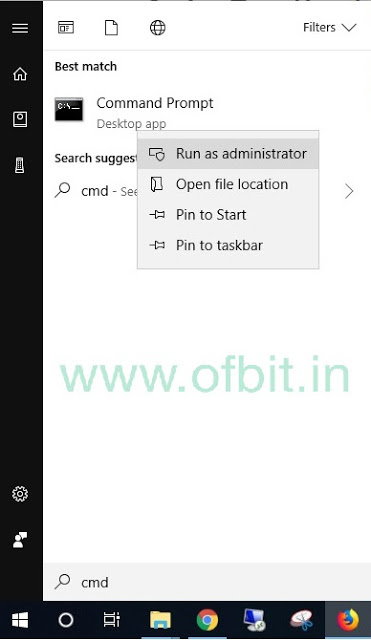
Related Article: How to Run Command Prompt as Administrator [Step By Step]
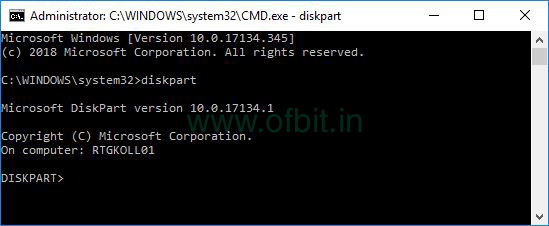
Step 2: Type the diskpart command and press Enter.
Step 3: Type list disk command and press Enter to list all the drivers available.
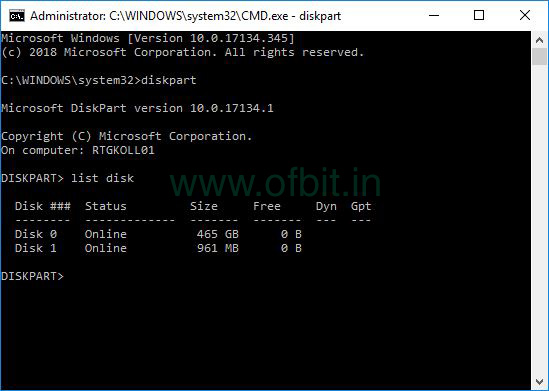
Warning: Confirm the target drive properly before moving to the next step.
Step 4: In this example, we will choose Disk 1, which is 961MB in size. To select the disk type select disk 1 and press Enter. And then type clean and press Enter.
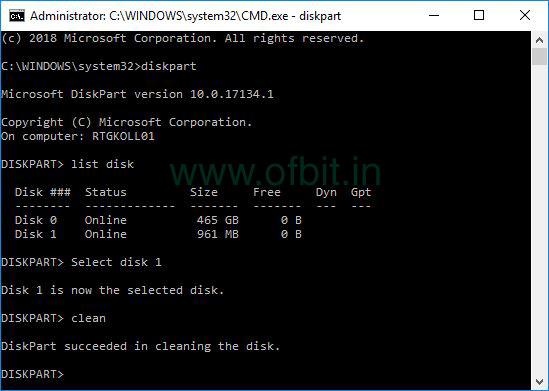
Step 5: To verify, type list disk again to check the drive still selected. If the dive still selected, an asterisk (*) symbol you see next to disk. and the free space amount changed from 0 to 960 MB.
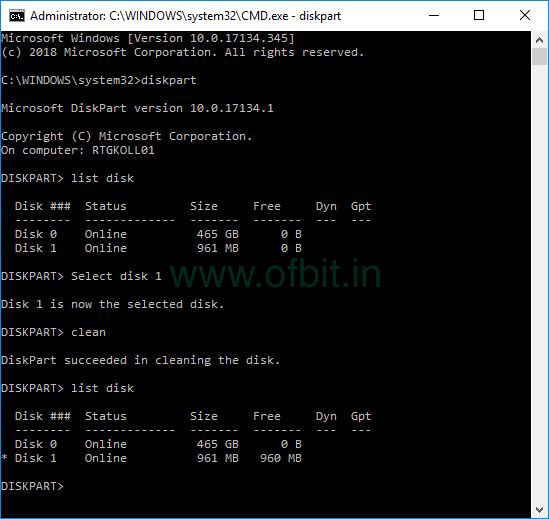
Step 6: Type create partition primary and press Enter to create a partition.
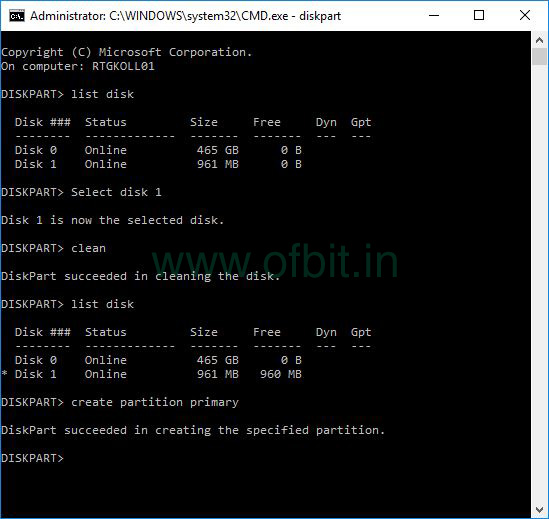
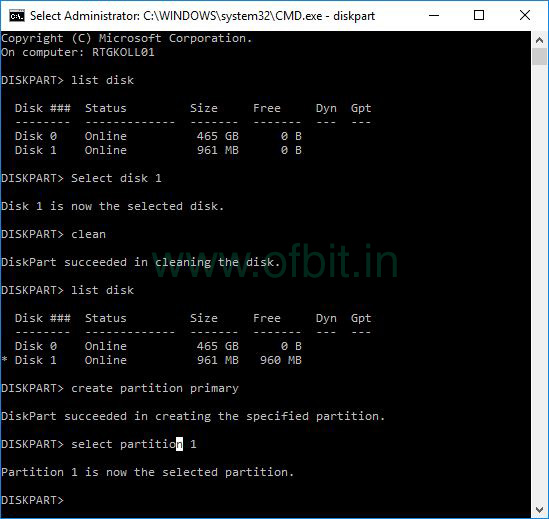
Step 7: Now type select partition 1 and press Enter to select the partition.
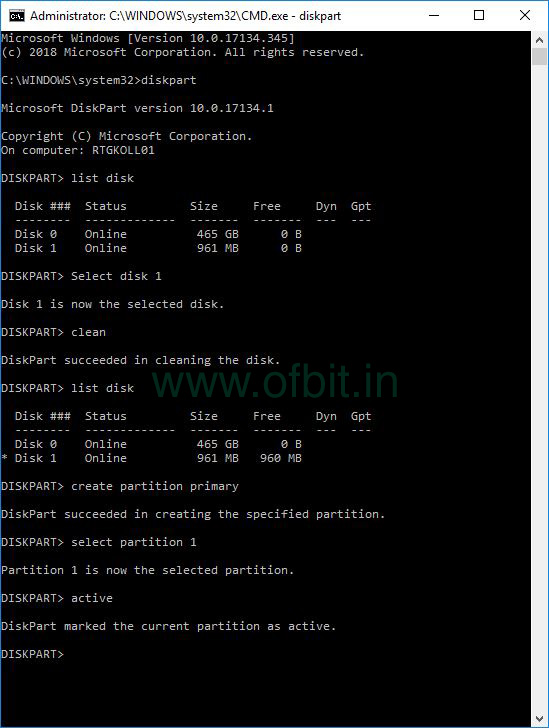
Step 8: Type active and press Enter to set the partition active.
Step 9: Now to format the drive using FAT32, we also use a switch to set the label and quick to format quickly.
format FS=FAT32 label=Ofbit quick

Step 10: Next we need to assign a drive letter, type assign letter=f and press Enter.
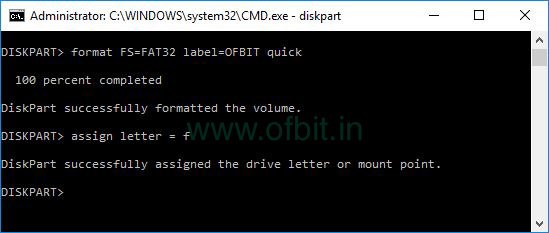
We use ‘f’ as a drive letter, you can change it as per your choice.
Well, we have successfully erased all your data from the storage drive. type exit to close the Disk Part window.

![How to Use DiskPart Utility on Windows 10 [Step by Step]](https://ofbit.in/wp-content/uploads/2019/08/How-To-Use-DiskPart-Utility-On-Windows-10-Ofbit.in_.jpg)
[…] How to Use DiskPart Utility on Windows 10 [Step by Step] […]