In this tutorial, we will learn How to perform a clean installation of Kali Linux. Kali Linux is a Debian based, security distribution that comes with preloaded hundreds of renowned security-related tools and undoubtedly the finest Operating system for pen-testing and security testing by Offensive Security.
System Requirements
A minimum of 20 GB disk space.
RAM: Minimum- 1GB, Recommended: 2GB or more.
CD-DVD Drive / USB boot support
Before start installation, we require
Kali Linux ISO file. [You can download the Kali Linux ISO from https://www.kali.org/downloads/]
Create the bootable USB or CD/DVD. [Click here to learn How to Create a Bootable USB drive.]
Set up your Boot device priority in BIOS. [Click here to learn How to change Boot Device Priority.]
How to Install Kali Linux [Step by Step]
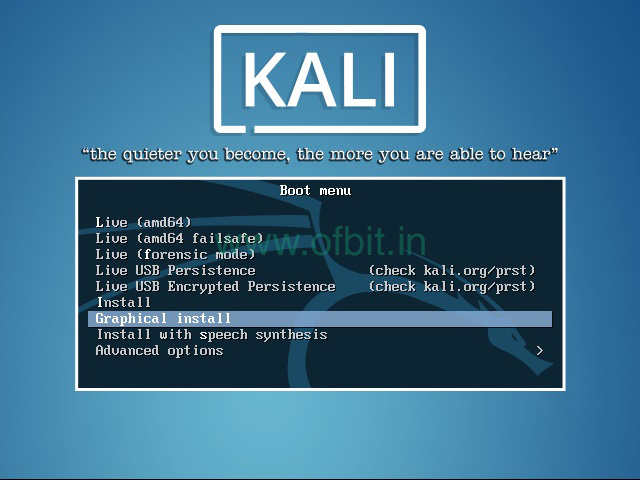
Step 1: The first screen you see when you boot is the Boot menu. Here from the list choose Graphical install by using arrow keys and press Enter to select.
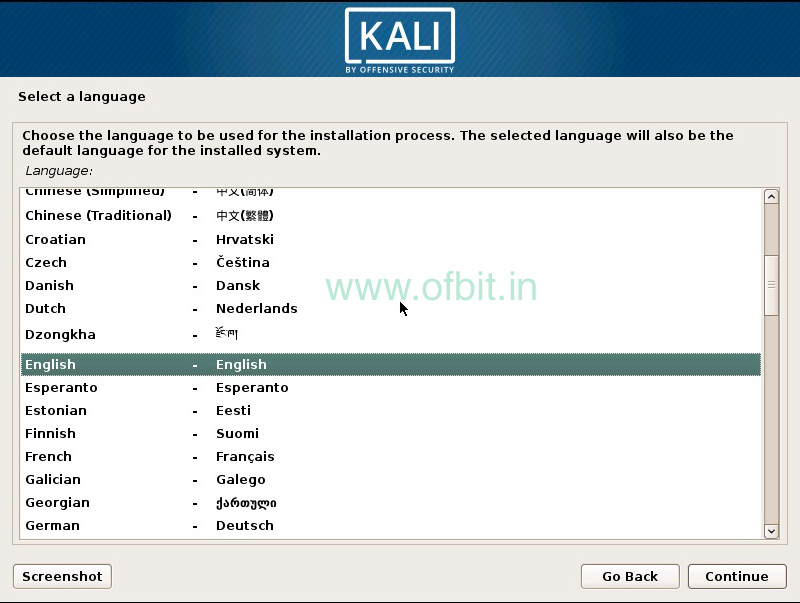
Step 2: Select your preferred language from the next screen.
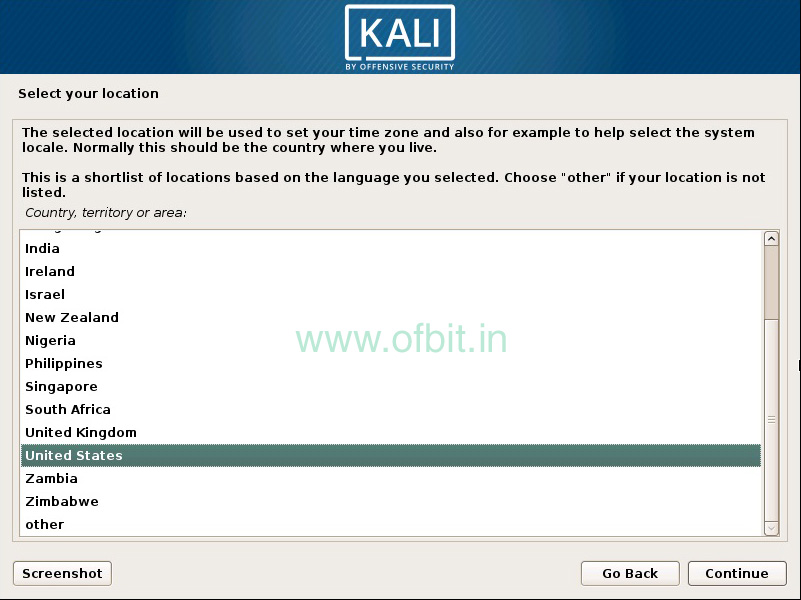
Step 3: Select your Location from the list.
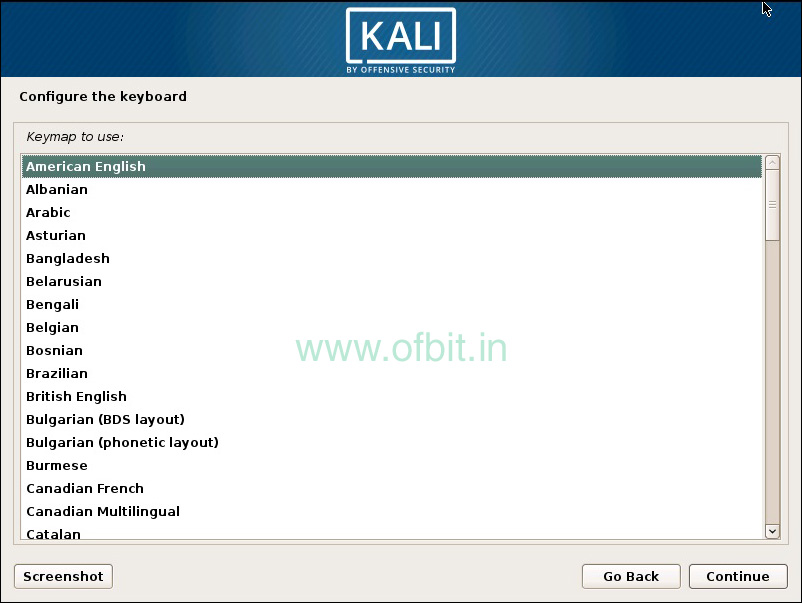
Step 4: In this screen choose the keymap to configure the keyboard, I suggest leave the option as it is and click Continue.
Step 5: Now the installer components are being loaded to your hard drive.
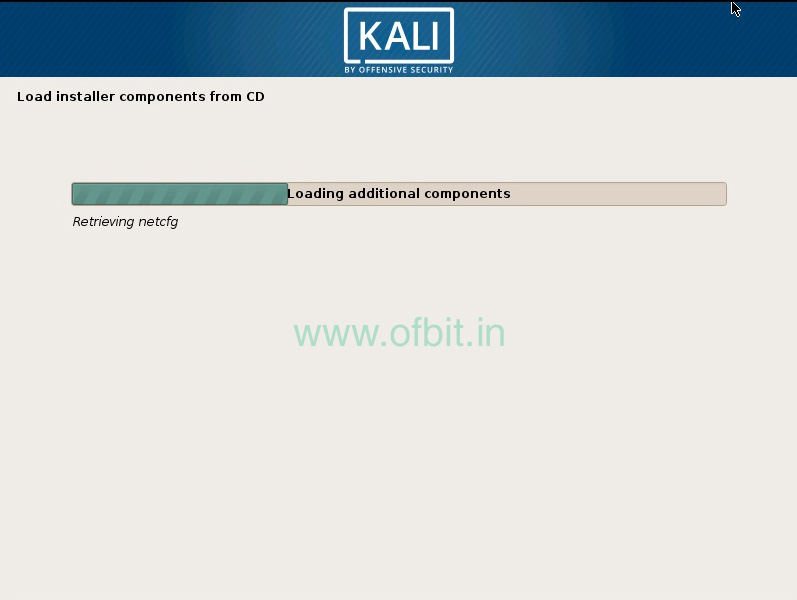
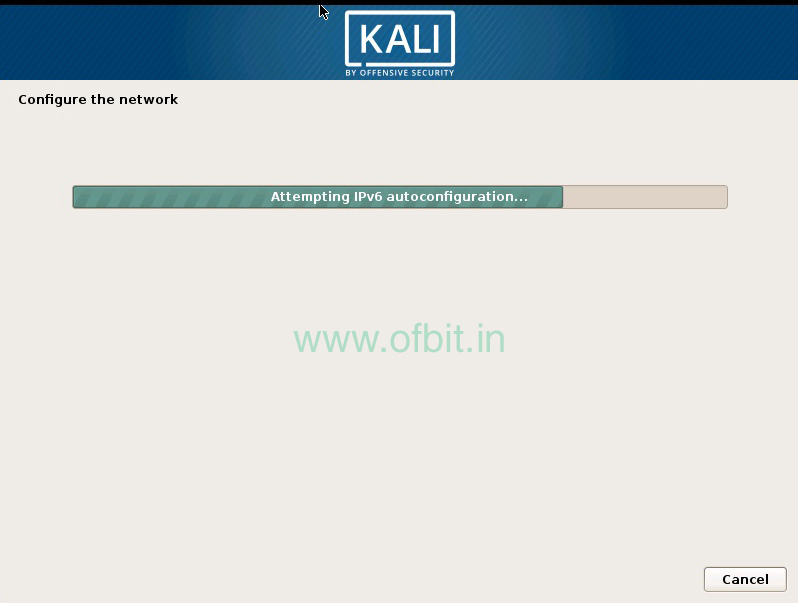
and configure your Network.
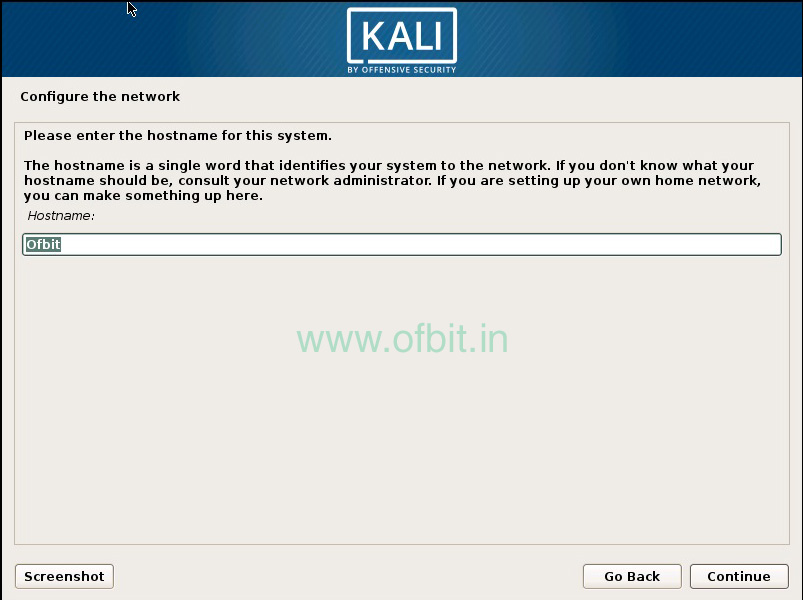
Step 6: This screen prompt you to enter Hostname for your system, I entered Ofbit as Hostname and press Continue.
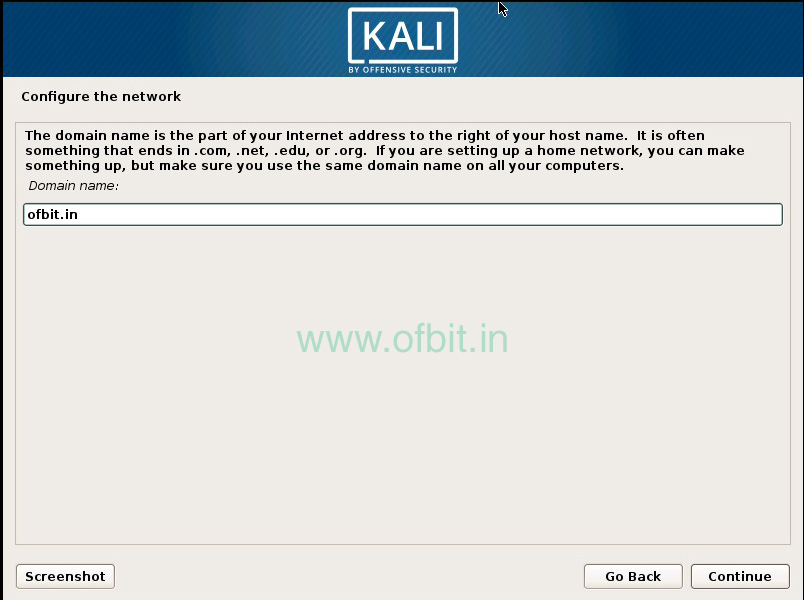
Step 7: This screen prompts you to enter a Domain name, here I entered Ofbit.in and press Continue.
Step 8: Now set the Root password for your system, and make sure that the password should be complex and strong enough.
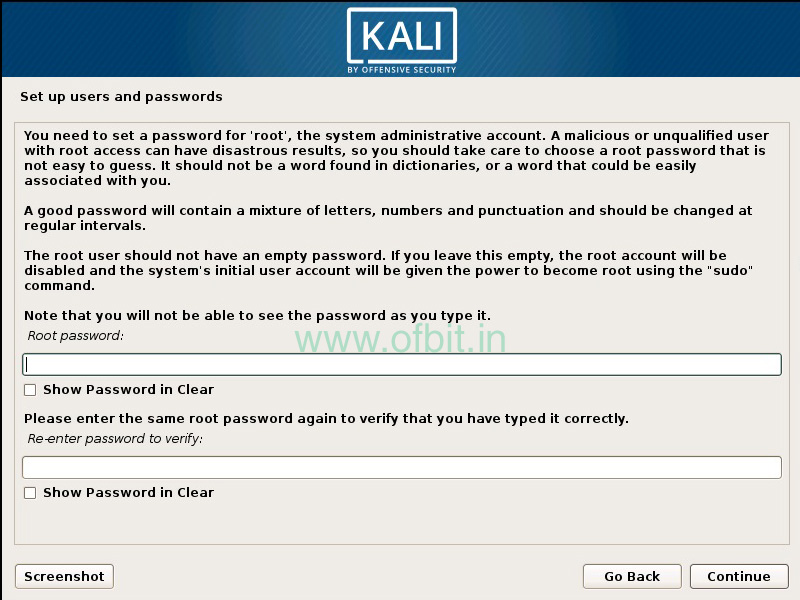
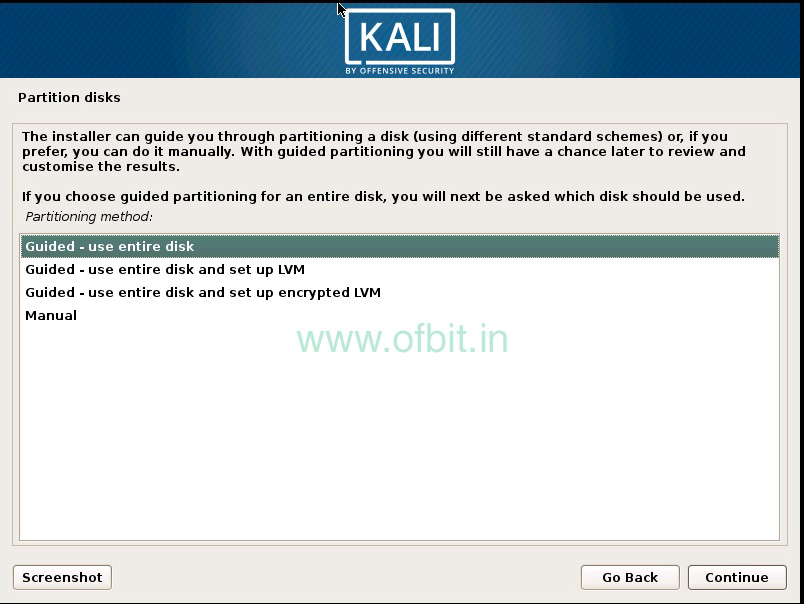
Step 9: In this installation screen, you have to configure the disk partition. Experienced users can use the Manual partition option, but for this tutorial, I select the Guided-use entire disk and continue.
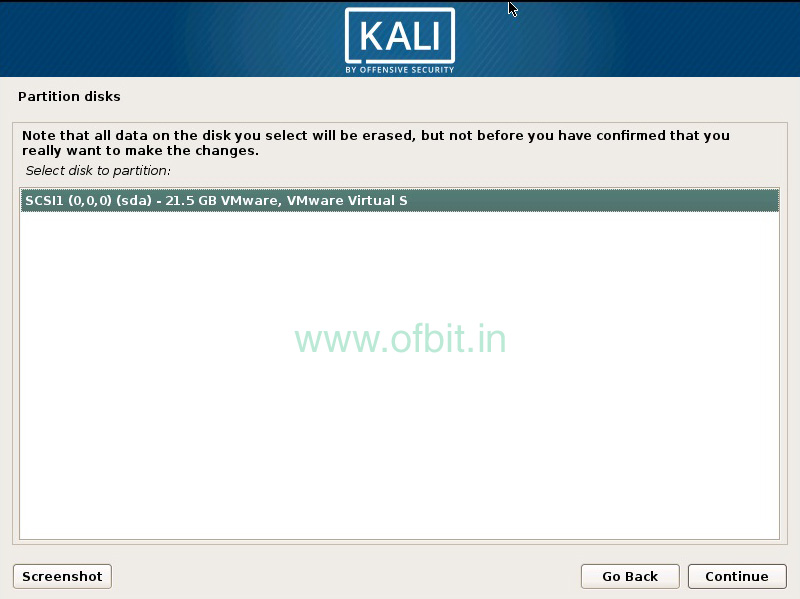
Step 10: Select the disk to be partitioned.
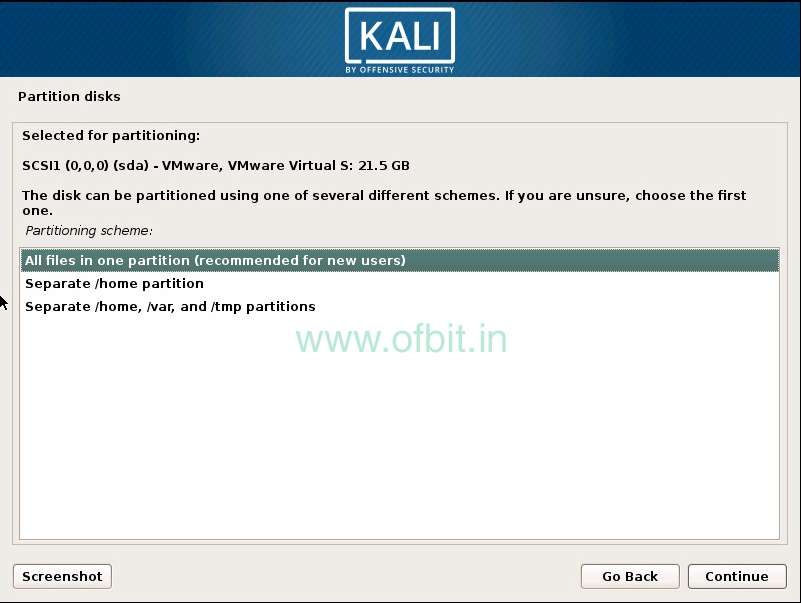
Step 11: The next you prompt to choose the Partitioning scheme, for the new user, it is recommended to choose All files in one partition (recommended for new users). Or you can choose separate partitions for one or more of the top-level directories.
Step 12: In this final step, you have the last chance to review your configuration, Click Continue to start the installation process.
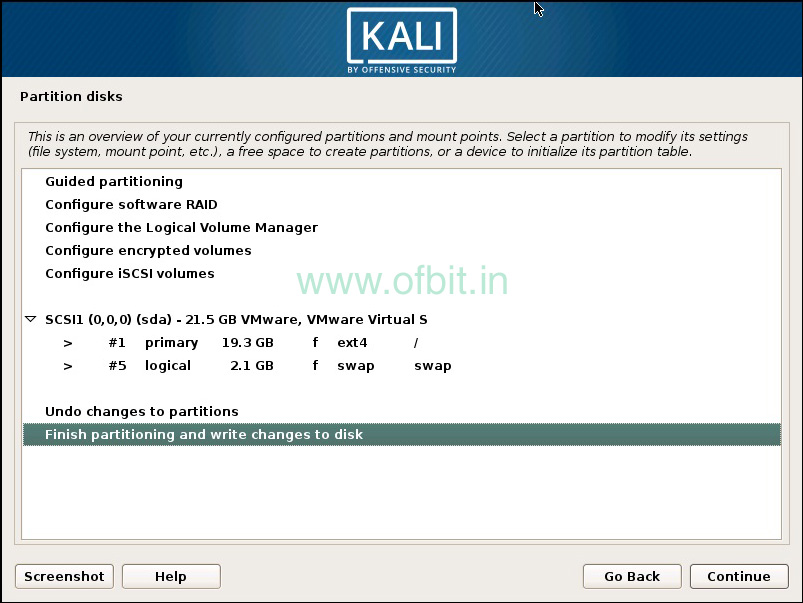
Step 13: Select Yes and click Continue.
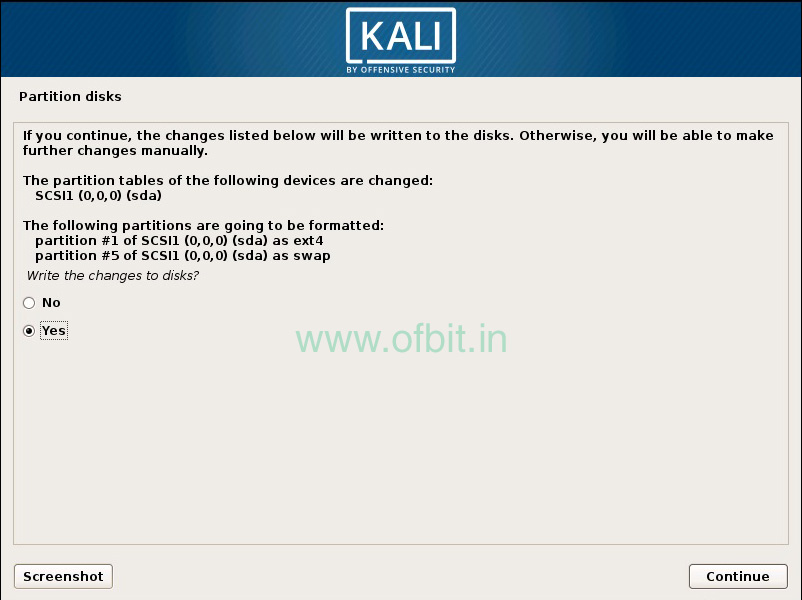
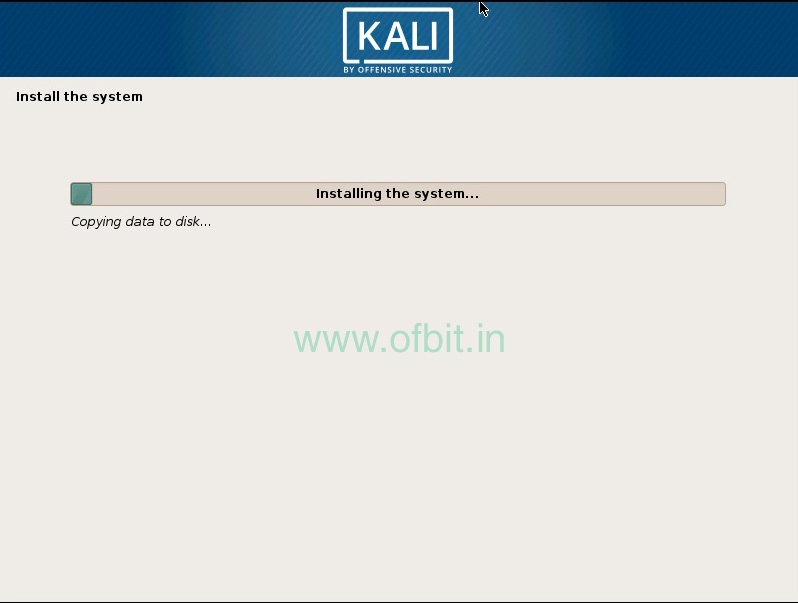
Step 14: The installation process starts.
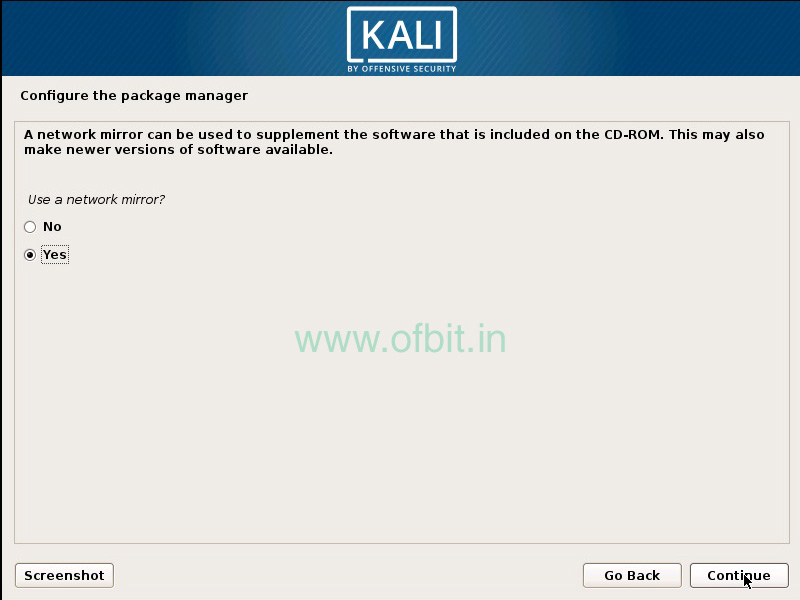
Step 15: Kali uses a central repository to distribute applications. Select Yes and click Continue.
Step 16: I suggest leave this Proxy setting blank and click Continue.
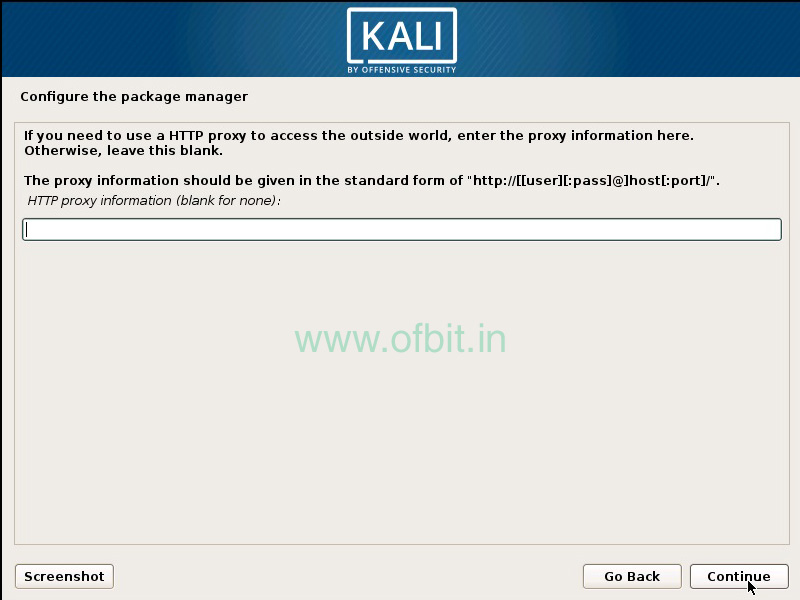
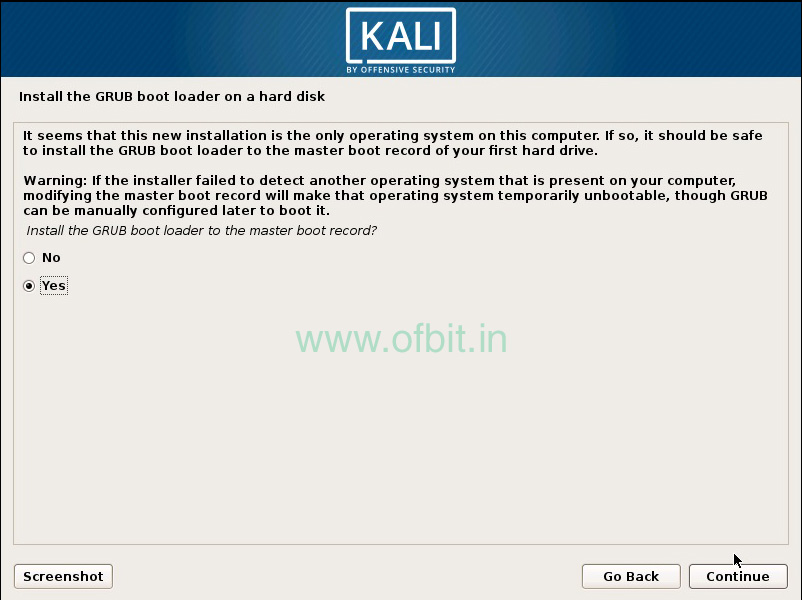
Step 17: Next, to install GRUB. Select Yes and Continue.
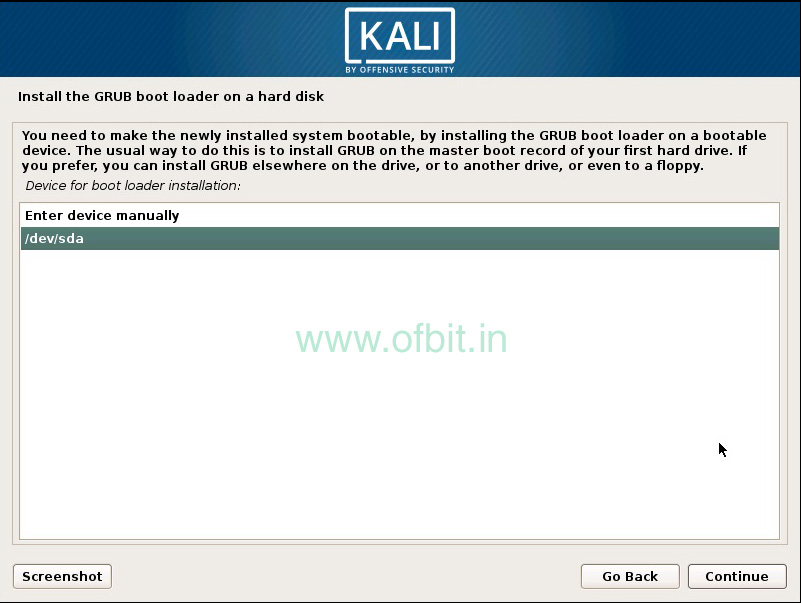
Step 18: In this screen, choose the Partition and click Continue.
Step 19: Click Continue to finish the installation and reboot into the Kali Linux.
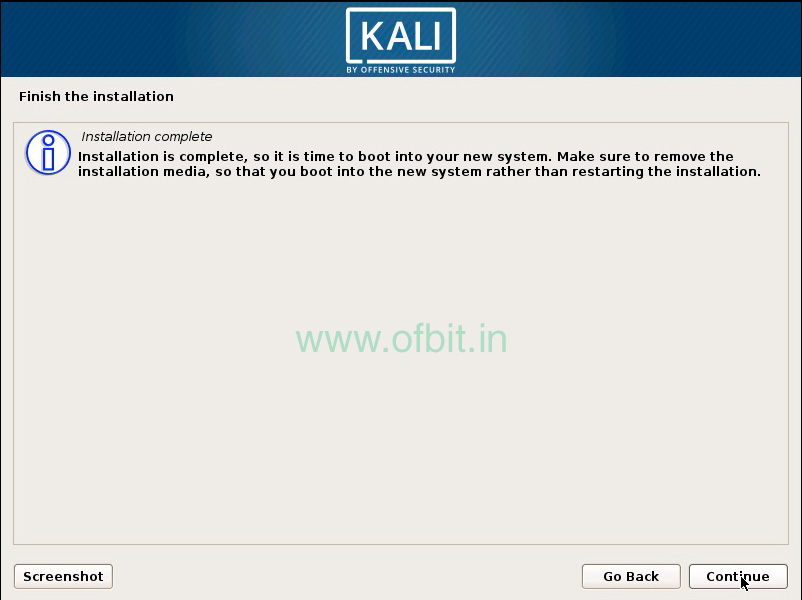
Well, Kali Linux is successfully installed on the system, use Username and Password to log in.
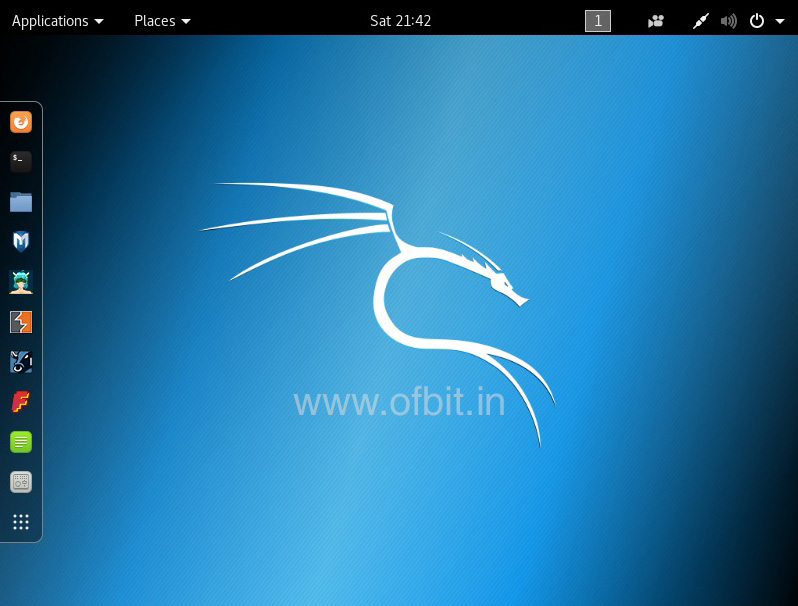
In our upcoming tutorial/article we will learn more about the tools available in Kali Linux and there use and to get the update subscribe.
People also ask and Searches related to Kali Linux [GUI] Installation [Step By Step]
- How to Install Kali Linux?
- Installing Kali Linux- A step-by-step instruction,
- Step by Step Guide – How to Install Kali Linux
- How to Install Kali Linux Step by Step Guide,
- Kali Linux VMware,
- Kali Linux for PC,
- Kali OS,
- Kali Linux Virtual Machine.

![Kali-Linux-[GUI]-Installation-[Step-By-Step]-Ofbit.in](https://ofbit.in/wp-content/uploads/2019/09/Kali-Linux-GUI-Installation-Step-By-Step-Ofbit.in_.jpg)