![How-to-Install-WAMP-Server-on-Windows-10-[Step-by-Step]](https://ofbit.in/wp-content/uploads/2019/10/How-to-Install-WAMP-Server-on-Windows-10-Step-by-Step.png)
In this tutorial, we will learn How to install WAMP Server on Windows 10. WAMP Server provides you a web development platform to develop a dynamic web application, you can use it for internal testing purpose or may use to host live website.
What is WAMP Server?
WAMP Server is a Web Development Platform available for free (under GPML license) which helps you to develop web applications, easy to configure without touching any settings file, and automatically installed everything you need to start web development. WAMP Server uses Apache, MySQL, PHP as a complete package and stands for Windows Apache, MySQL, PHP which is dedicated to Microsoft Windows Operating Systems. If you are using Linux as an Operating system you need to install LAMP Server (Linux Apache, MySQL, and PHP) and for MAC, MAMP Server (Mac Apache, MySQL, and PHP).
How to WAMP Server Download for Windows 10?
I strongly recommend downloading the WAMP Server from the official website only.
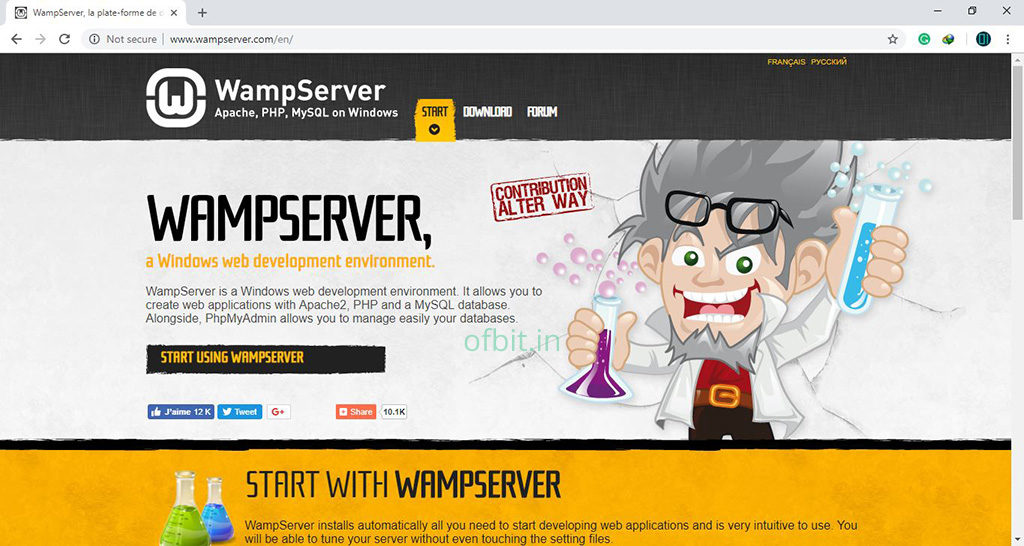
Step 1: Open any of your favorite web browsers and type http://www.wampserver.com/en/.
Step 2: Go to Download Section and choose x64 bit or x86 bit version according to your OS.
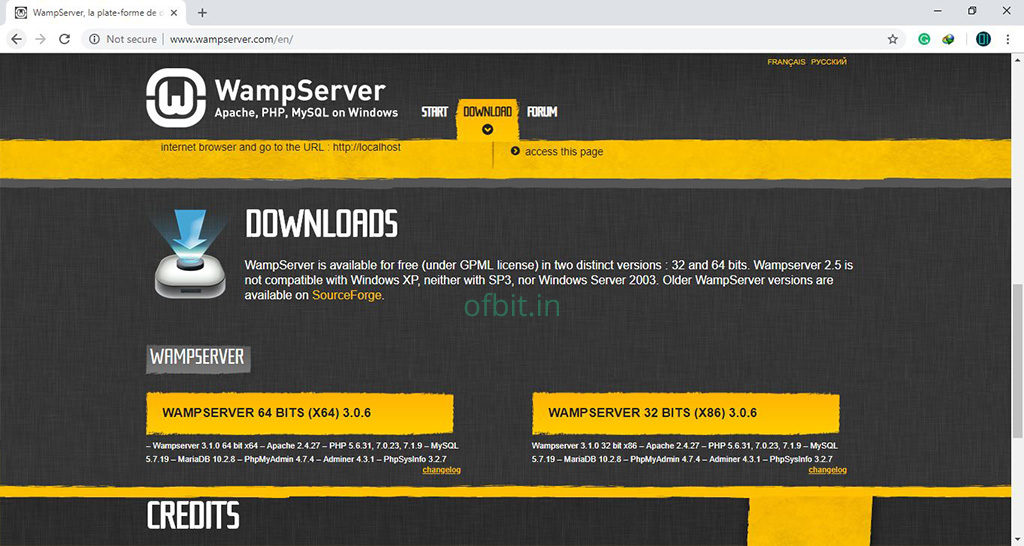
Step 3: Click Download Directly option.
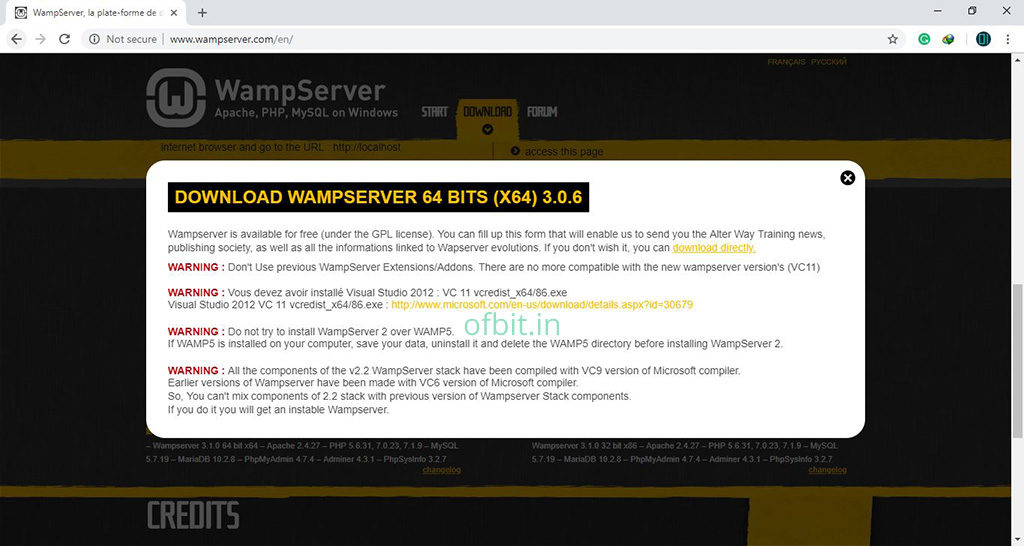
Prerequisites: Make Sure Visual C++ Redistributable is installed on your system. If not, for a successful installation, download Visual C++ Redistributable from the Microsoft Official Website. Install both the 32 and 64 Bit version to avoid any .dll is missing file error.
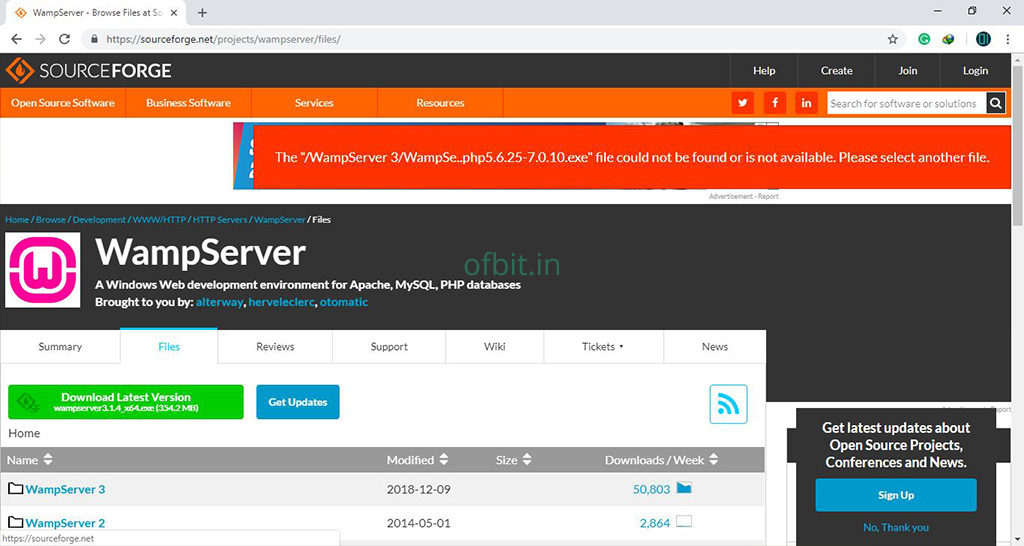
Step 4: You will be re-directed to another page to download the WAMP server for Windows 10. Click on Download Latest Version.
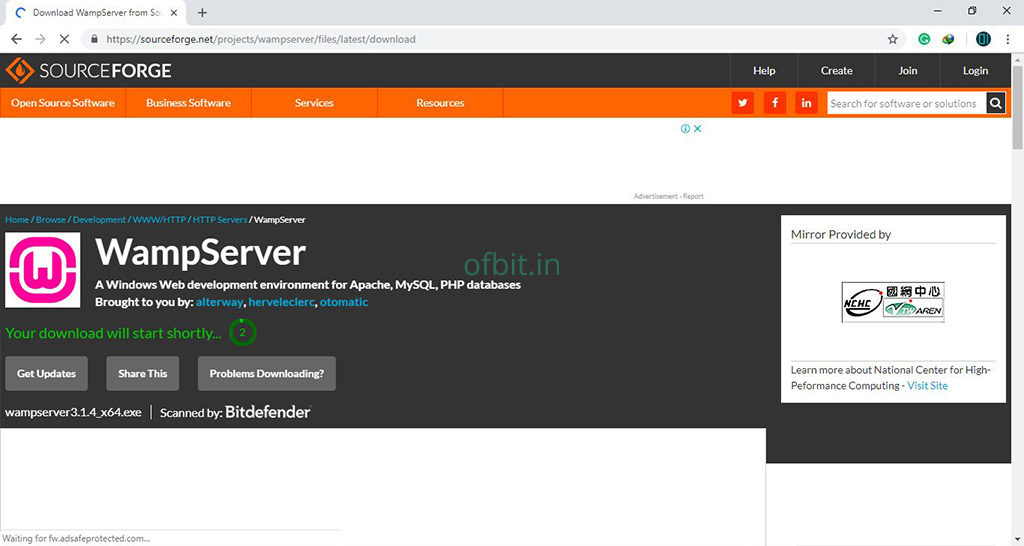
Step 5: Wait for a few seconds, and your WAMP server for Windows 10 will start Downloading.
How to Install WAMP Server on Windows 10:
As we have now downloaded the WAMP Server installation file. Double-click on the file to start the installation.
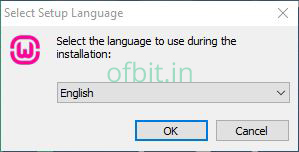
Step 1: By default, the language is English selected, if not then select English and click OK.
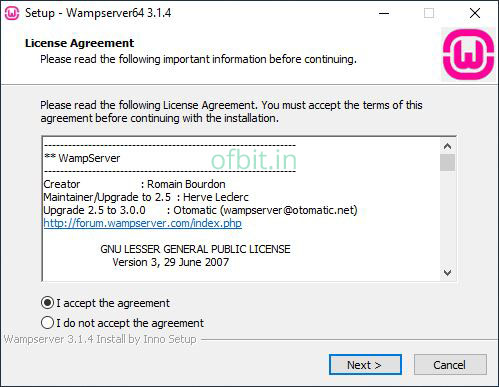
Step 2: Accept the License agreement and click Next.
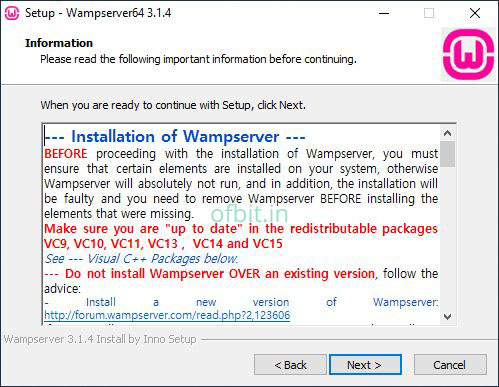
Step 3: Click Next.
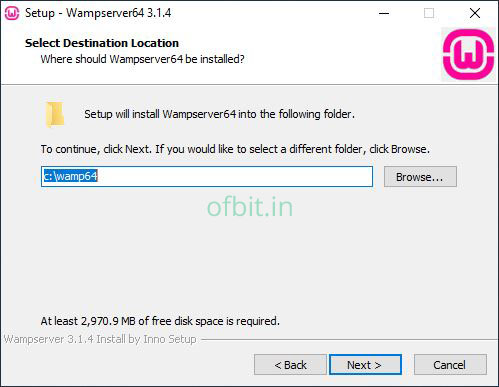
Step 4: Choose the location where you want to install and click Next.
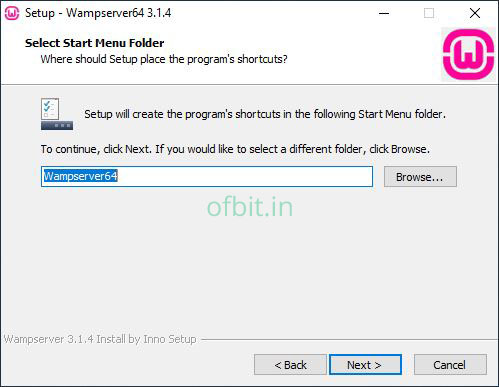
Step 5: Click Next with the default folder.
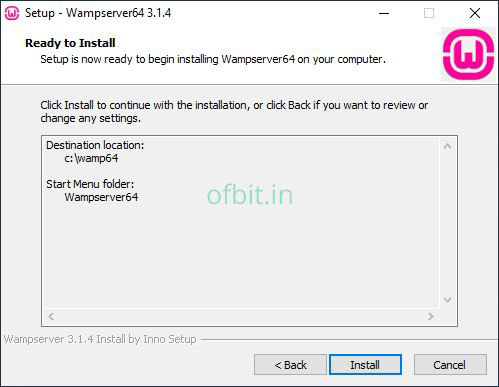
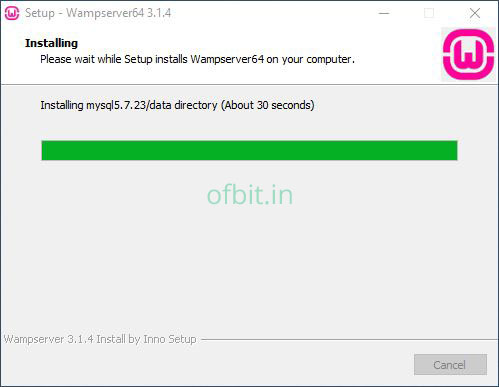
Step 6: Click Install to start the installation process.
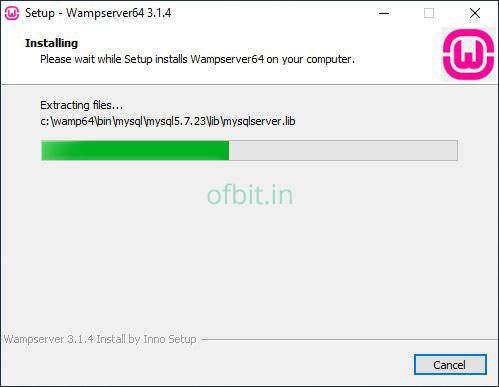
WAMP Server is Installing now…
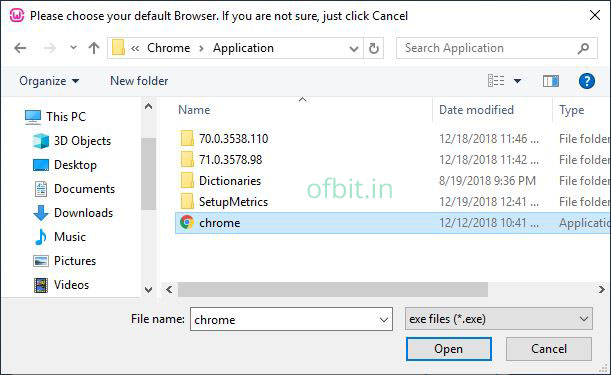
Step 7: Click Yes if you want your favorite browser as a default browser by WAMPServer and Navigate to the browser application file.
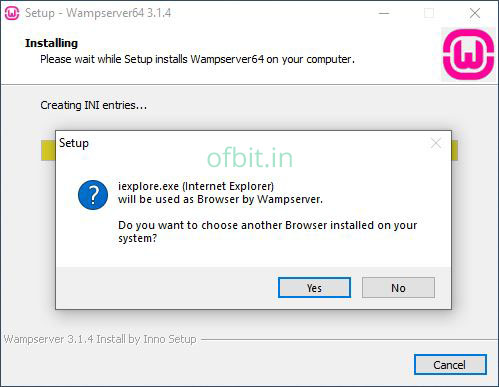
Here I choose Google Chrome as a default browser.
Step 8: Click Yes if you want your favorite text editor as a default used by WAMP Server.
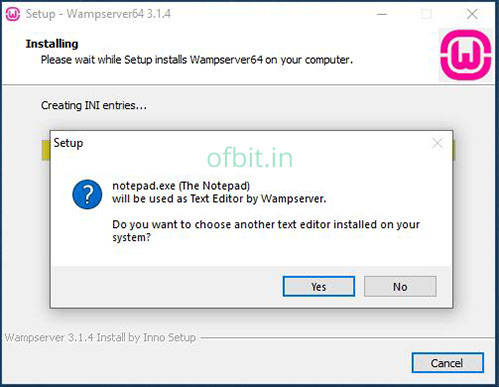
I select No, as I want to use Notepad as a default text editor and continue with the installation process.
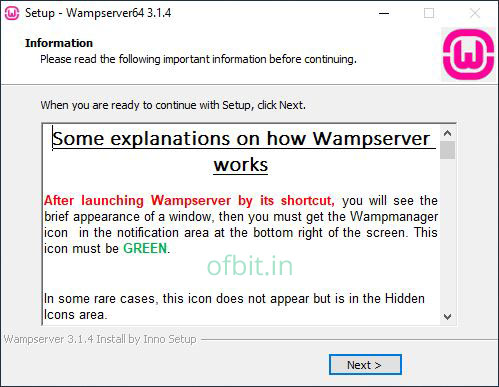
Step 9: Click Next in this Window.
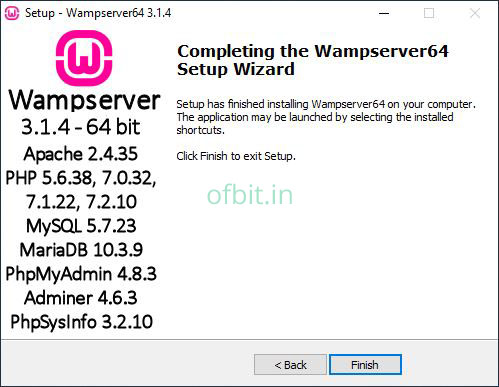
Click Finish to complete your Installation Process.
Step 10: A shortcut will be added to your desktop, double-click to run.
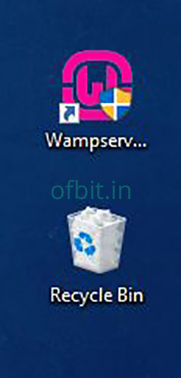
Wait till the Icon in the System trey turned to Green.
Well, Your WAMPServer is ready now. I hope this will help you to configure your own web server locally. If you have any question, comment below.