In this tutorial, we will learn How to install WordPress on Windows Using WAMP Server Locally. By installing WordPress locally, you can explore its new themes, features, plug-ins. If you are new with WordPress or find it difficult to understand, then install WordPress locally and play with it is the best option for you.
We have installed WAMP Server locally on Windows 10 first. If you don’t know how to install WAMP Server on Windows 10, you can check our article:
How to Install WAMP Server on Windows 10
How to Download WordPress:
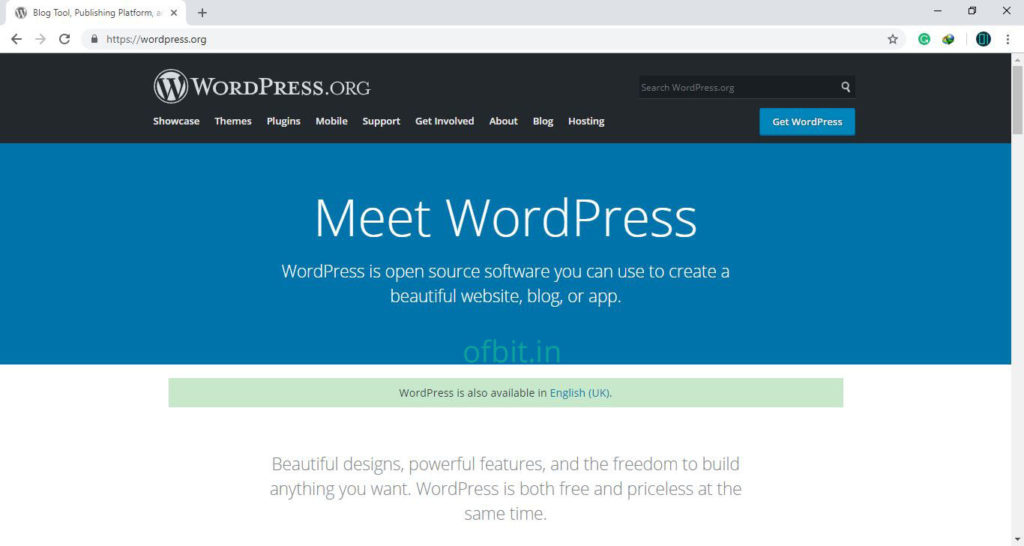
Step 1: Open Web Browser and type https://wordpress.org/ or Click here. then click on Get WordPress.
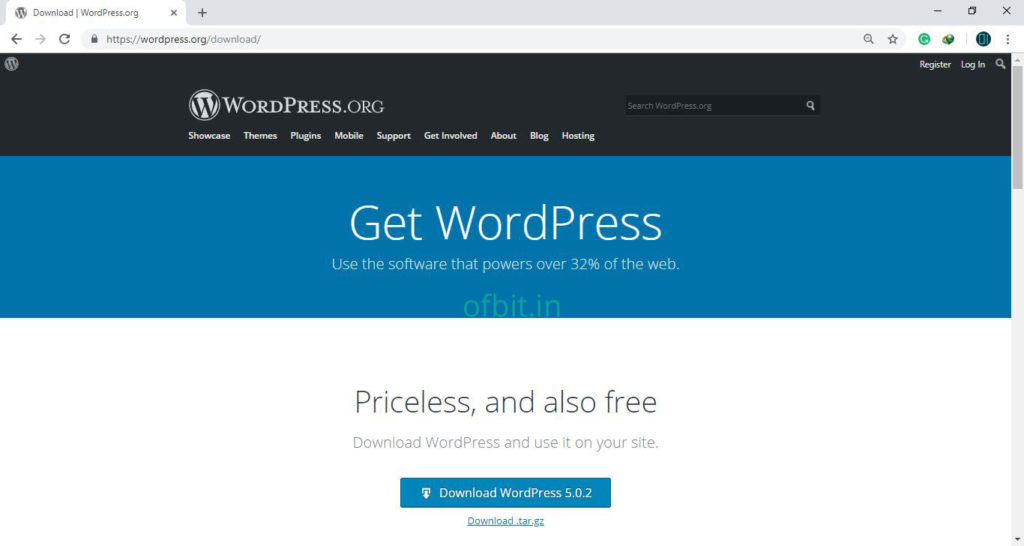
Step 2: Click Download WordPress as shown in the picture.
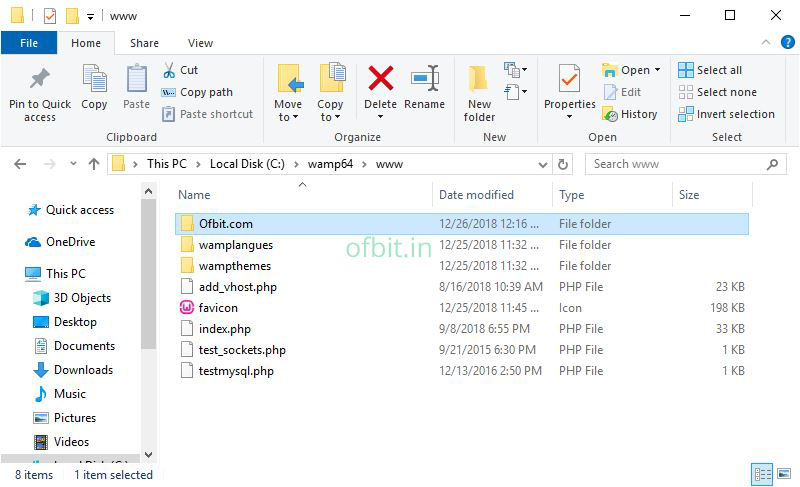
Step 3: Extract the WordPress.zip file and copy the WordPress folder and paste it into C:\wamp64\www. Depending on the Software and OS version or where you install it, folder location may vary.
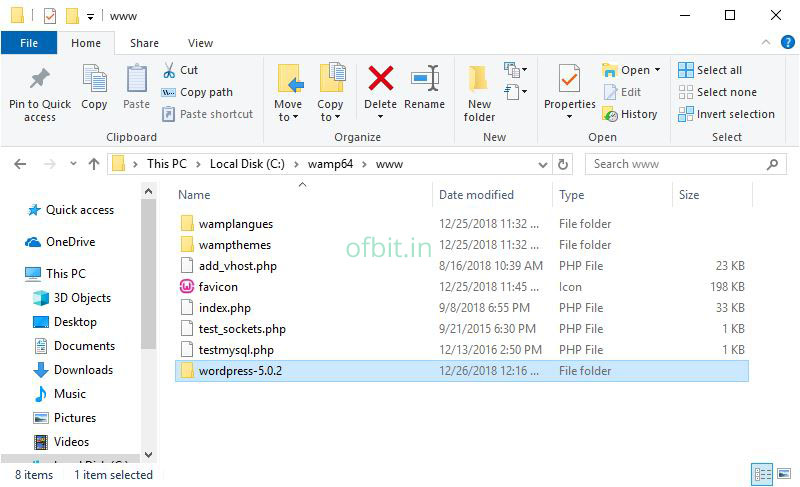
Step 4: Rename the folder as per project name, I rename it to Ofbit.com, you can rename it to anything you want.
How to Configure MySQL Database for WordPress:
We have set Google Chrome as a default web browser to use by WAMP Server while installation. For further configuration we will use only Google Chrome, If you set any other browser then you can use that instead of Google Chrome.
Step 1: Start the WAMP Server if it is already not running by clicking on the ICON located somewhere in your Desktop.
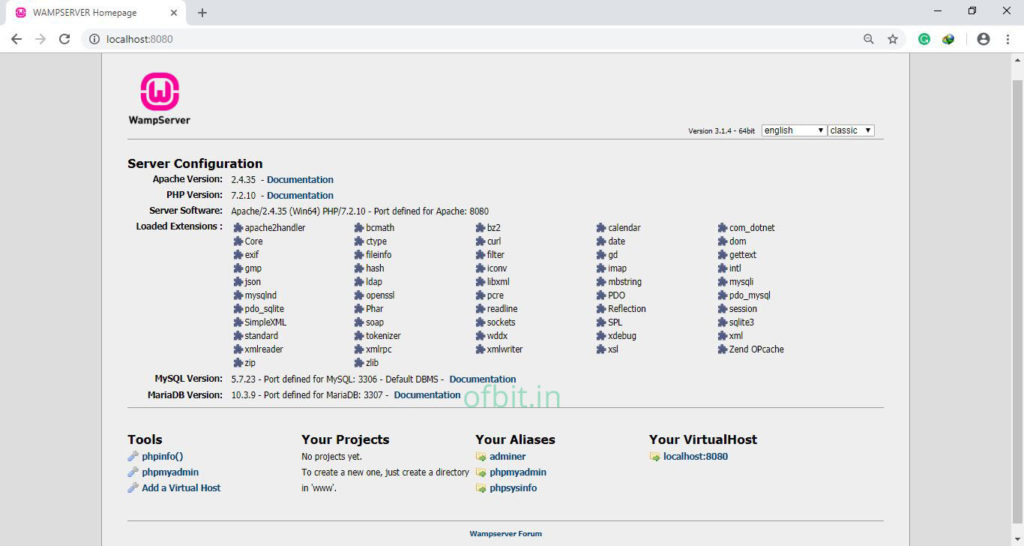
Step 2: Open Google Chrome and type http://localhost. and click on phpmyadmin.
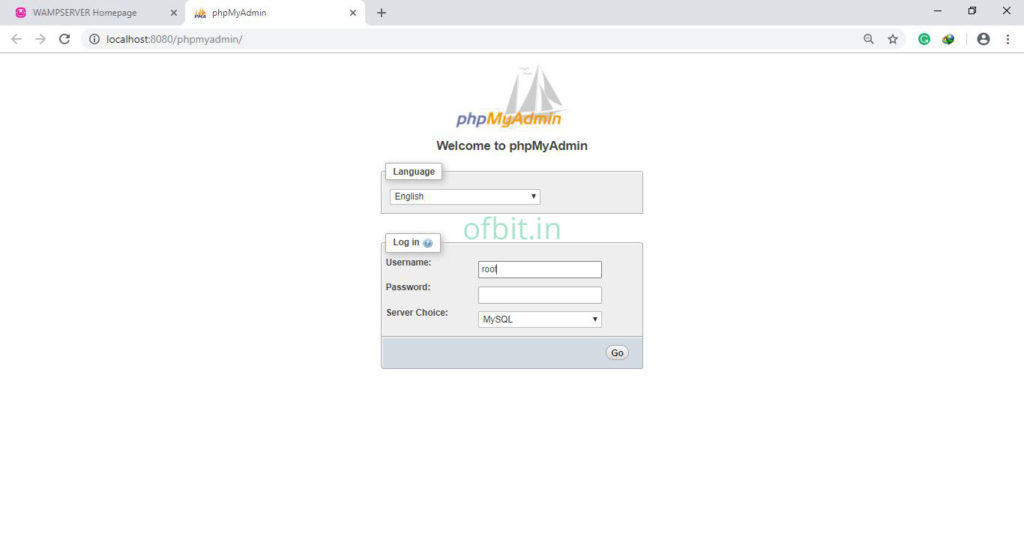
Step 3: In this phpMyAdmin login screen, Enter Username root and leave the Password field blank and click Go to continue. This is the default credential for the first time.
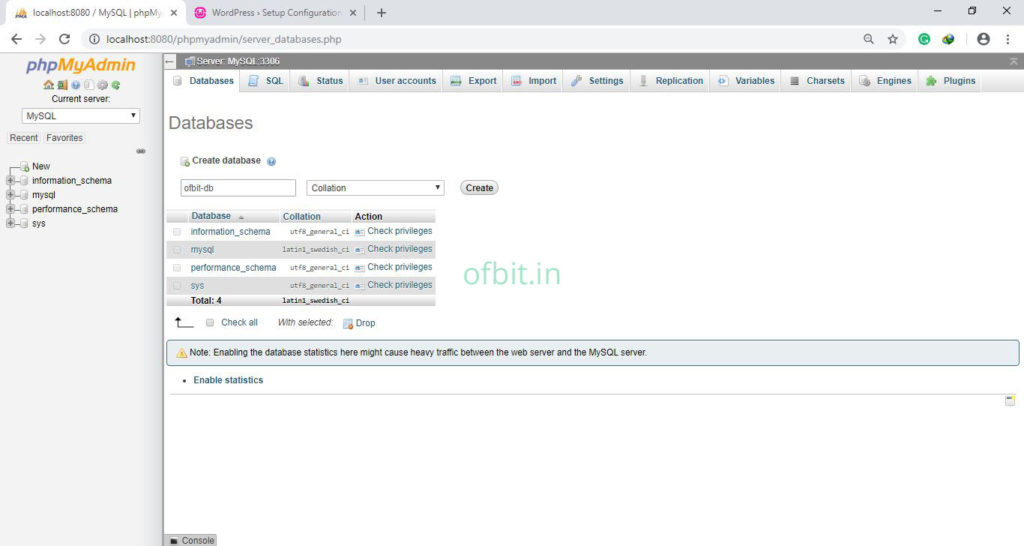
Step 4: After Logged in, click Click On Database tab and Put the desired database name under Create database option and click Create to continue. I named the Database as ofbit-db.
How to Install WordPress Locally on Windows 10 Using WAMP Server:
Step 1: Open Google Chrome and type http://localhost/ofbit.com/. (as I named the folder ofbit.com).
Select the Langage.
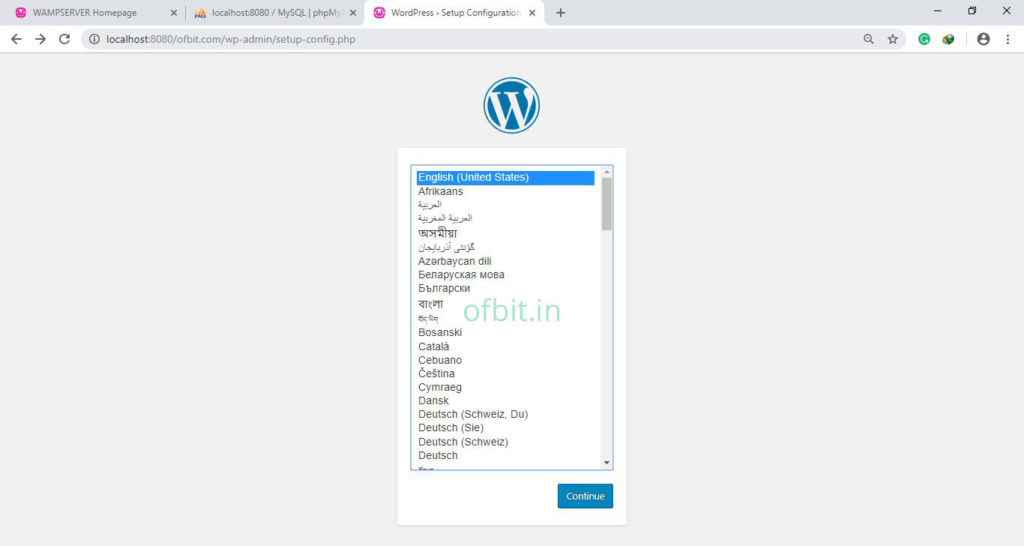
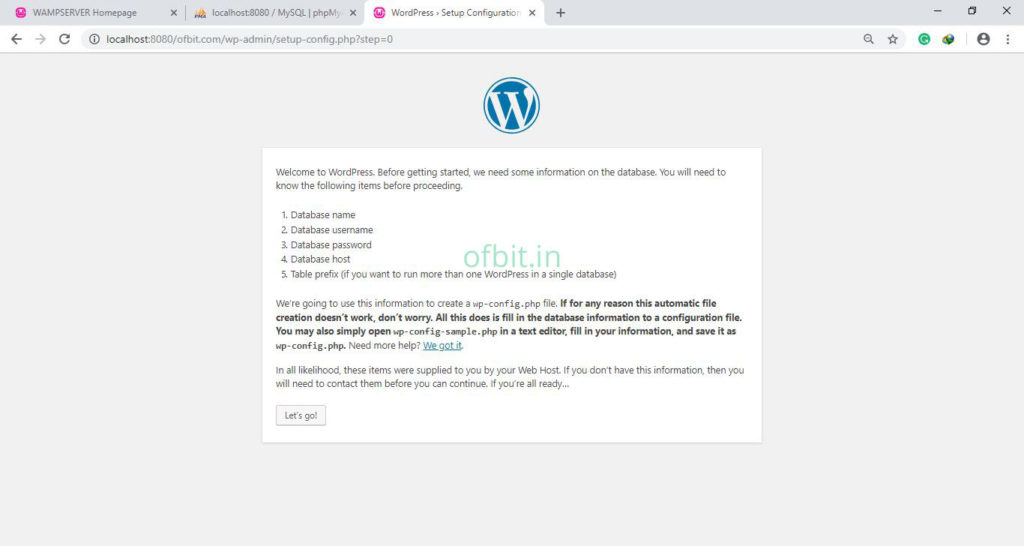
Step 2: Click on Let’s go! button to continue.
Step 3: Now enter the details as mentioned to set up and click on the Submit button.
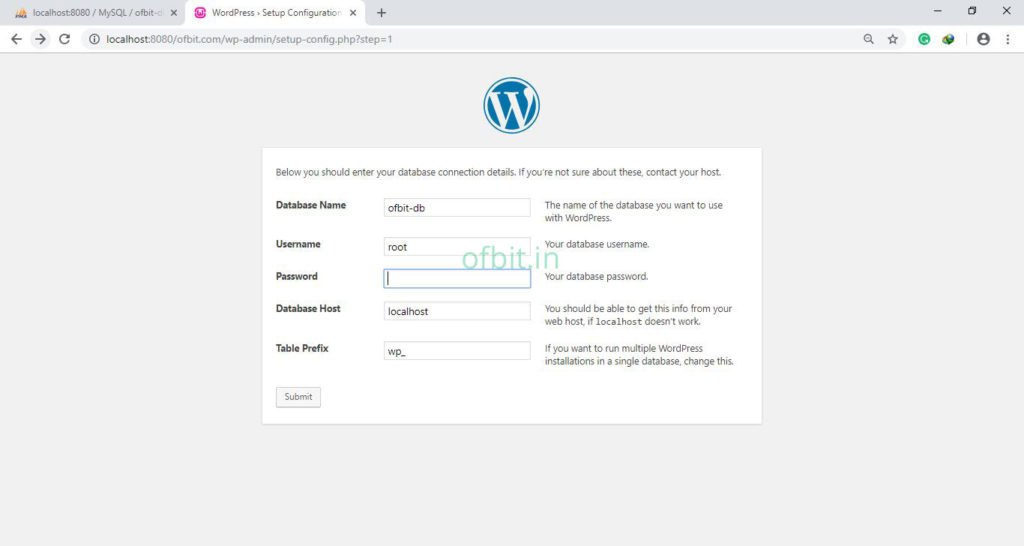
Note: We named our database as ofbit-db, by default the username is root and Password is blank, rest keep both defaults.
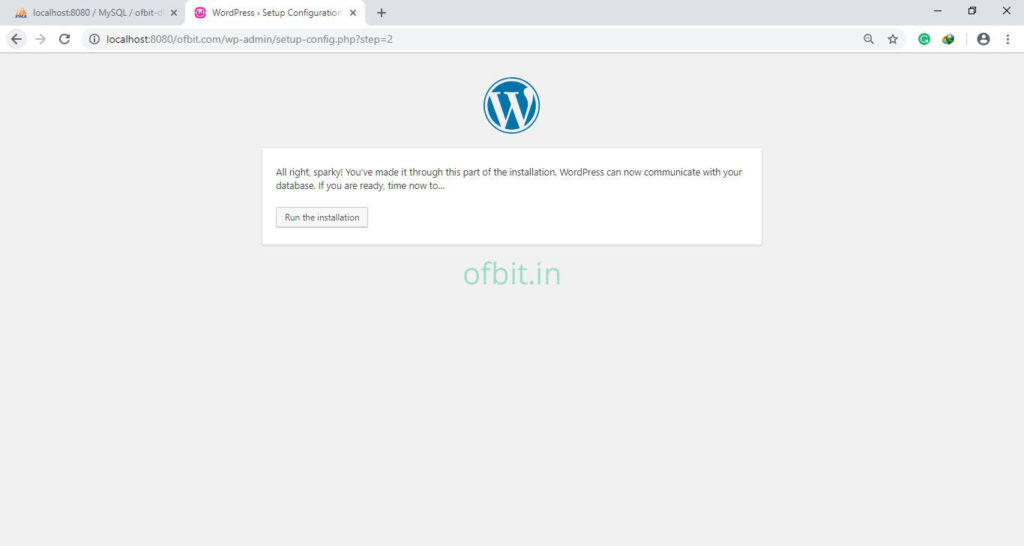
Step 4: All right!! you have successfully completed this part, click on Run the installation to continue.
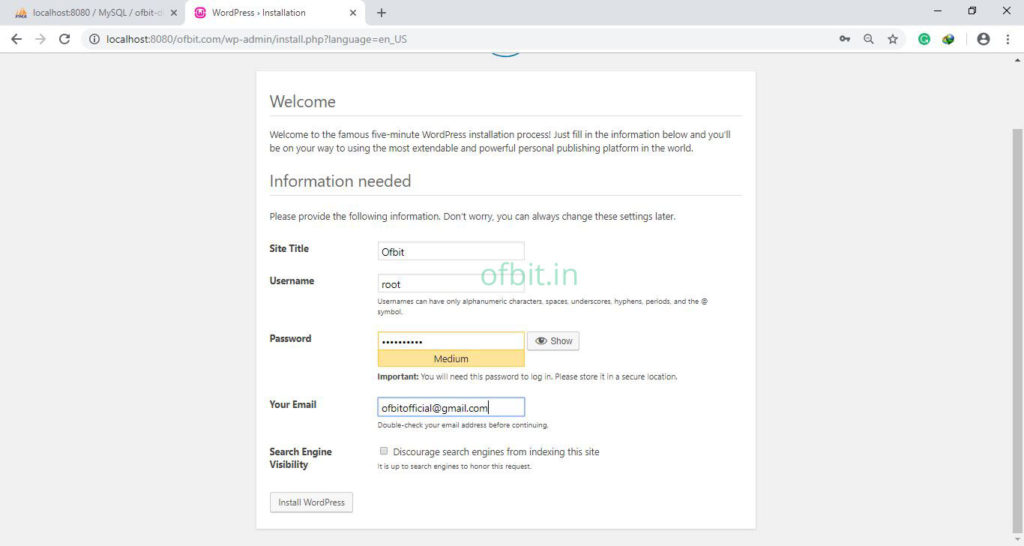
Step 5: In this Welcome screen add the blog title and other information as required. and click Install WordPress.
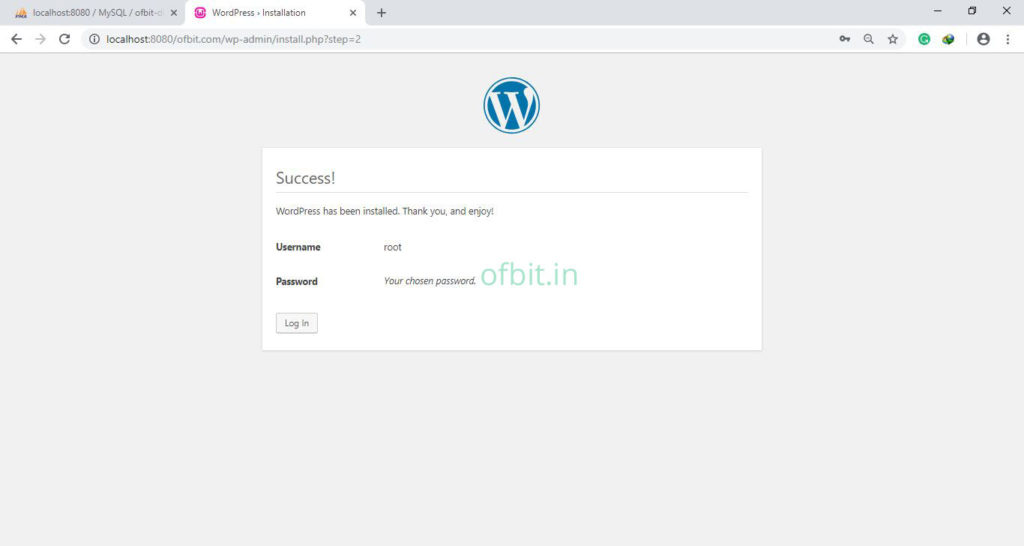
Step 6: Success, you have successfully installed and configure the WordPress, click Log In to Continue.
Well, your local WordPress test environment is successfully created using WAMP Server. If you are facing any issues or any suggestion do not forget to comment below.
Very soon this web site will be famous among all blog viewers, due
to it’s pleasant posts