In this article, we will learn How to install Symantec Endpoint Protection Manager 14.3 Step by Step with Screenshot. While Installing Symantec Endpoint Protection Manager, we will learn how to configure the Symantec endpoint protection manager.
Symantec Endpoint Protection Manager 14.3 is the latest version of the Symantec Endpoint Protection Suite. Before we start, let us check the basic requirements of Symantec Endpoint Protection Manager, new fixes, and how to download the Symantec Endpoint Protection suite.
System Requirements:
OS
Windows Server 2008 R2, Windows Server 2012, Windows Server 2012 R2, Windows Server 2016, Windows Server 2019.
Processor
Minimum: Intel Pentium Dual-Core or equivalent
Recommended: 8-core or greater recommended
Physical RAM
Minimum: 2 GB RAM available
Recommended: 8 GB or more available
HDD
With an embedded database or a local SQL Server database:
Minimum: 40 GB available
Recommended: 200 GB
For more details of System requirement, click here.
New Fixes in Symantec Endpoint Protection 14.3
- SEPM Auto-Upgrade feature triggers a second time
- SEP Linux LiveUpdate failure event is not logged
- Unable to export a client install package via the SEPM Web Console
- After upgrading to 14.2 RU1 clients fail to connect with SEPM when using a Third Party Certificate
- SEPM attempts to process SHA-256 file fingerprint hashes using import
- Agent Risk logs are not sent to Syslog server from Korean localized SEPM etc.
For more details of the Fixes, click here.
How to Download Symantec Endpoint Protection
Previously we can download the Symantec products from Symantec’s FileConnect and MySymantec software download portals. After Broadcom acquires Symantec, these are decommissioned. Now to download the Symantec software and tools, retrieve license keys, and activate your product you have to visit the Broadcom support portal.
- Go to Symantec Endpoint Security.
- Click Product Downloads.
- Log in using your myBroadcom account.
- Click the product you are looking for from the list of products.
- From the Product Download page, select the Version.
- Click Download to download immediately, or click FTP options for downloading through FTP.
Read The Complete SEPM Download guide with Screenshots…
Installing Symantec Endpoint Protection Manager Step by Step with Screenshot
Step 1: Once downloaded the product, run the Symantec_Endpoint_Protection_14.3.0_Full_Installation_EN.exe
Step 2: Symantec Endpoint Protection Installation Program dialog box, click Install Symantec Endpoint Protection.
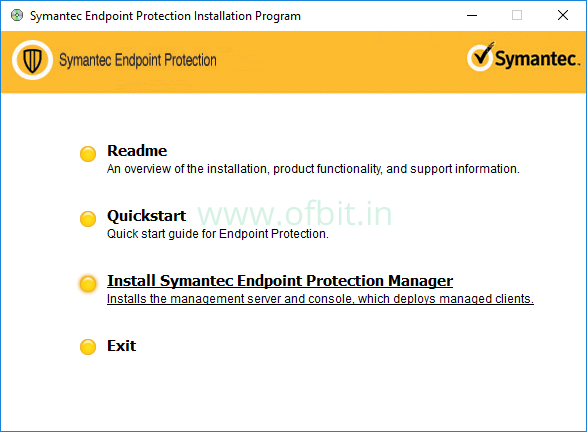
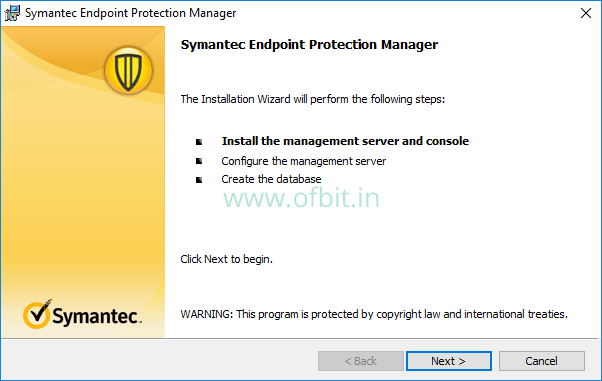
Step 3: Install the Management server and console.
Click Next to install the management server and console.
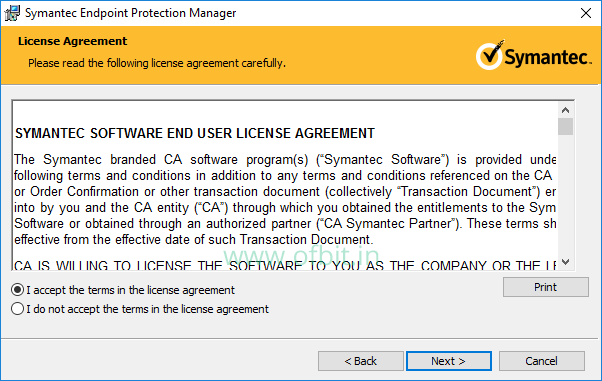
Accept the Licence agreement and click Next.
Select the Destination folder where you want to install SEPM.
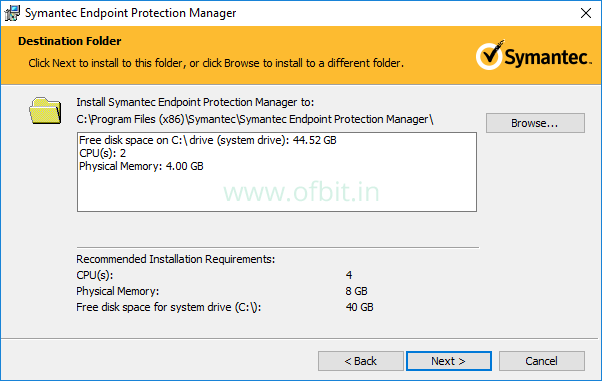
If you want to install SEPM to a different folder click Browse. Here I go with the default folder. Click Next.
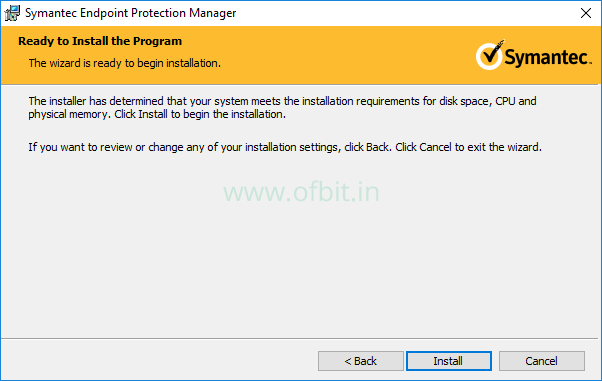
On this screen, you can also see your System Configurations.
Click Install to begin the installation.
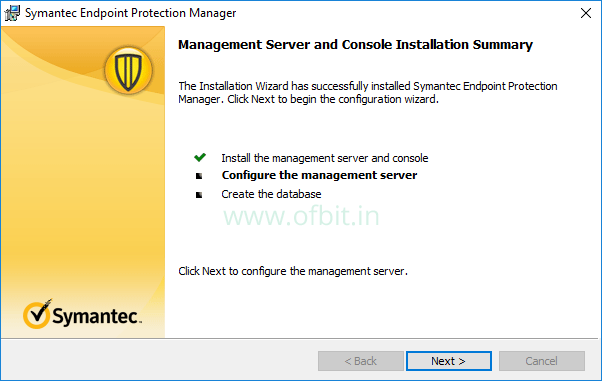
Step 4: Configure the Management Server.
Click Next to start configuring the management server.
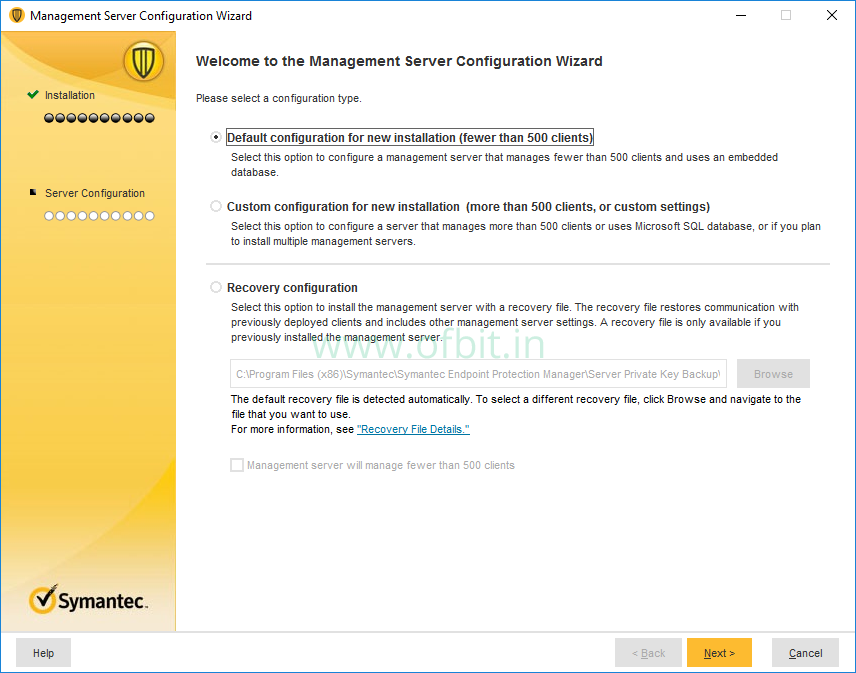
In Management Server configuration Wizard, select configuration type as per your or your organization need.
The default configuration for new installation (fewer than 500 clients)
If you have a client count less than 500, choose this option. This uses an embedded database.
Custom configuration for new installation (More than 500 clients, or custom settings)
If you have a client count more than 500 or want to use a separate Microsoft SQL database, or if you are planning to install multiple management servers. Choose this option.
Here I’ll go with the default configuration. Now click Next to continue.
Now we have to create a System administrator account. Put the information, Company name, user name, Password, Email address.
Here I’ll not configure the Email server. Click Next.
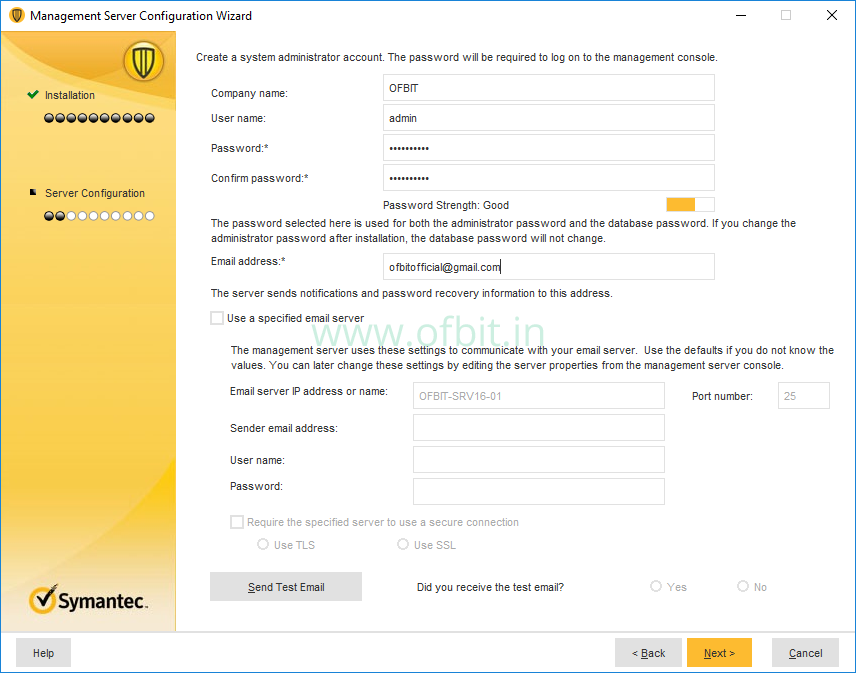
Click No, as we did not configure the Email Server.

Here I’ll uncheck the Run LiveUpdate during installation option, and click Next.
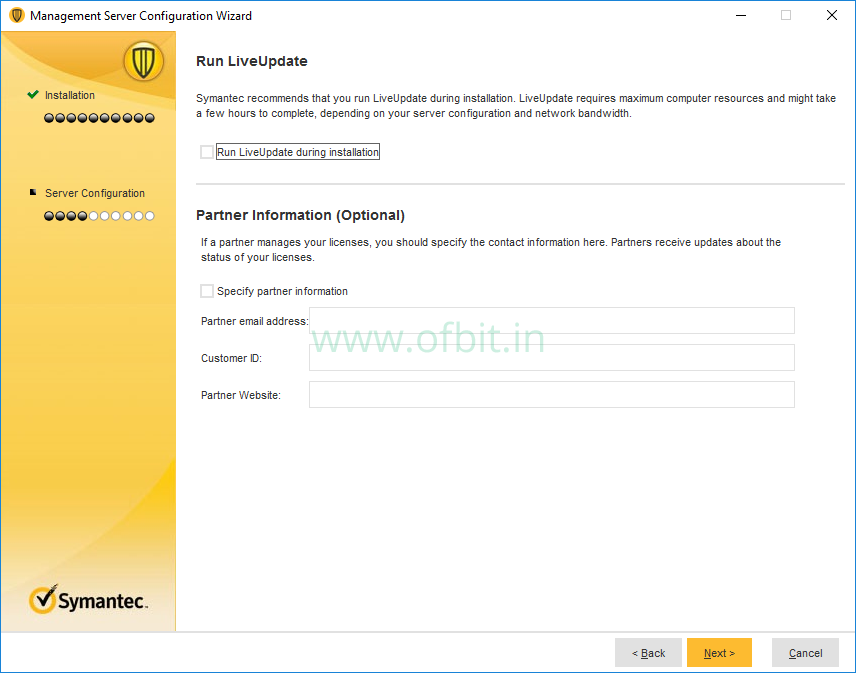
Click Next.
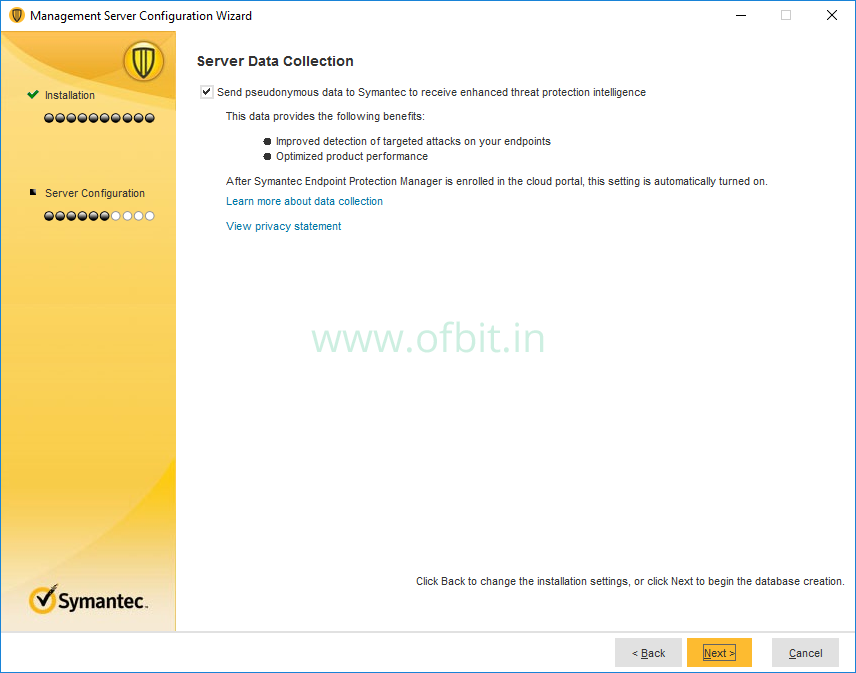
Step 5: Create the Database.
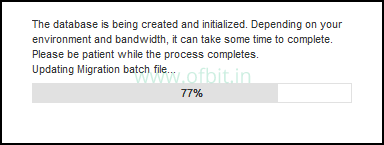
Well, the database is being created and initialized. It can take time depends on your environment.
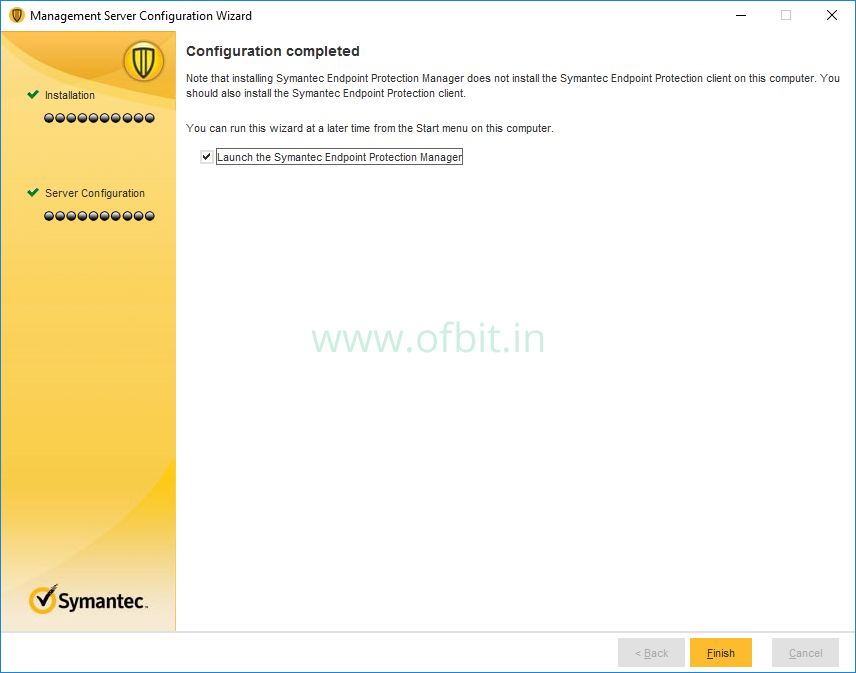
Click Finish to complete the configuration.
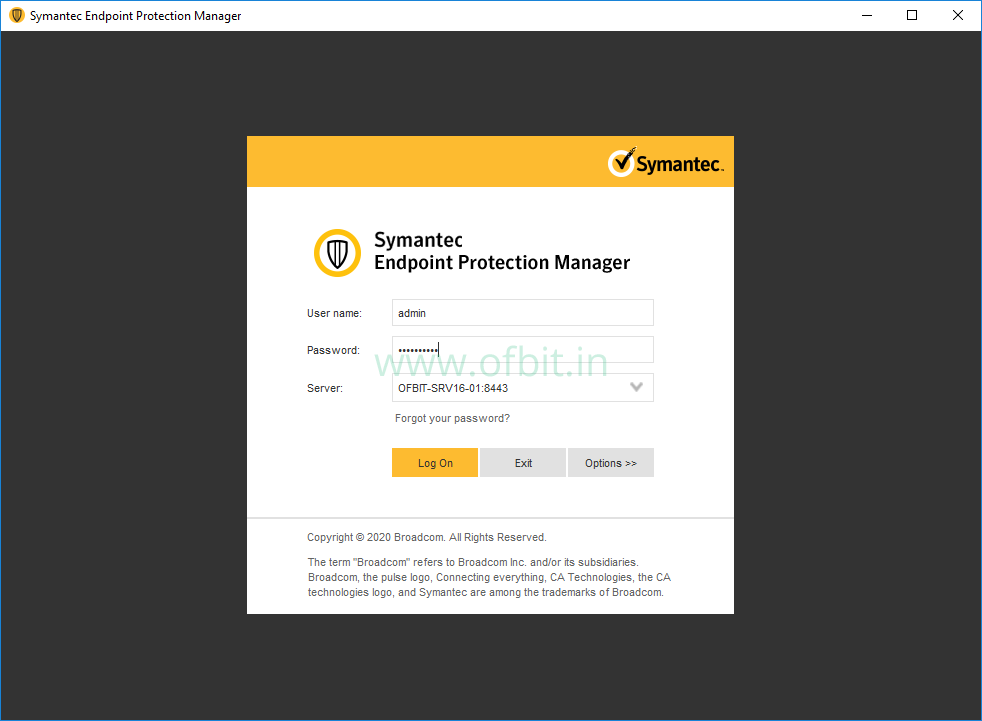
Step 6: Log in to SEPM console using the user name and password which we have created during configuration.
This is the first look of the SEPM console dashboard.
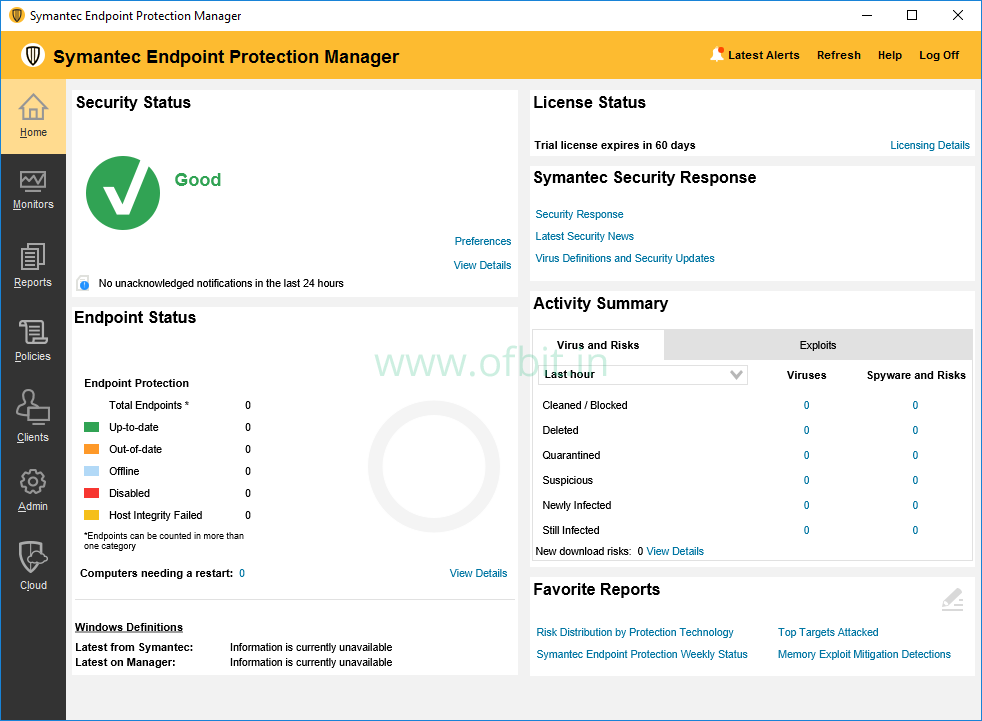
Well, we have successfully configured the SEPM Server. In our future post, we will learn more functions and configurations of Symantec Endpoint Protection 14.3.

[…] In this article we have learned how to download the Symantec Product. Next, you may like to read How to Install Symantec Endpoint Protection Manager 14.3. In our upcoming article, we will learn more about Symantec Endpoint Protection features, […]
Looks good! I like this!
[…] Installing Symantec Endpoint Protection Manager 14.3 Step by Step Screenshot […]
Enjoyed reading the content above, actually explains everything in detail, the article is
extremely interesting and effective. Thank you and good luck in the upcoming articles.
Best regards,
Boswell Henneberg
[…] you first time install the Symantec Endpoint Protection Manager, you will find the following default groups […]
[…] Installing Symantec Endpoint Protection Manager 14.3 Step by Step Screenshot. […]