![RHEL-8-[GUI]-Installation-[Step-by-Step]](https://ofbit.in/wp-content/uploads/2020/04/RHEL-8-GUI-Installation-Step-by-Step.jpg)
In this tutorial, we will learn How to install Red Hat Enterprise Linux 8 GUI version step by step. Here we perform a clean Graphical Installation of RHEL 8. A clean installation refers to installing the operating system on to a computer that does not have an installation present.
Before we start Red Hat Enterprise Linux 8 Installation with GUI to get Desktop Experience, we require:
Related Article :
How to Create Bootable USB Drive using Rufus [Step By Step]
How to change Boot Device Priority [Step by Step]
RHEL 8 Installation – Step By Step
Step 1: Use RHEL 8 Bootable media to boot from it.
Place the Bootable USB or DVD into the appropriate drive and Start/Restart the system.
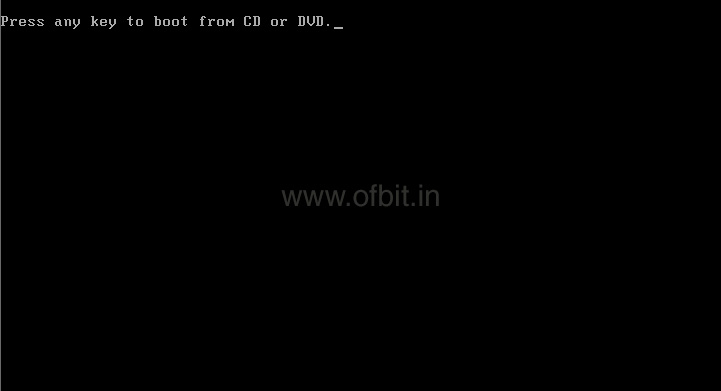
Step 2: Press any key from the keyboard when the below screen appears.
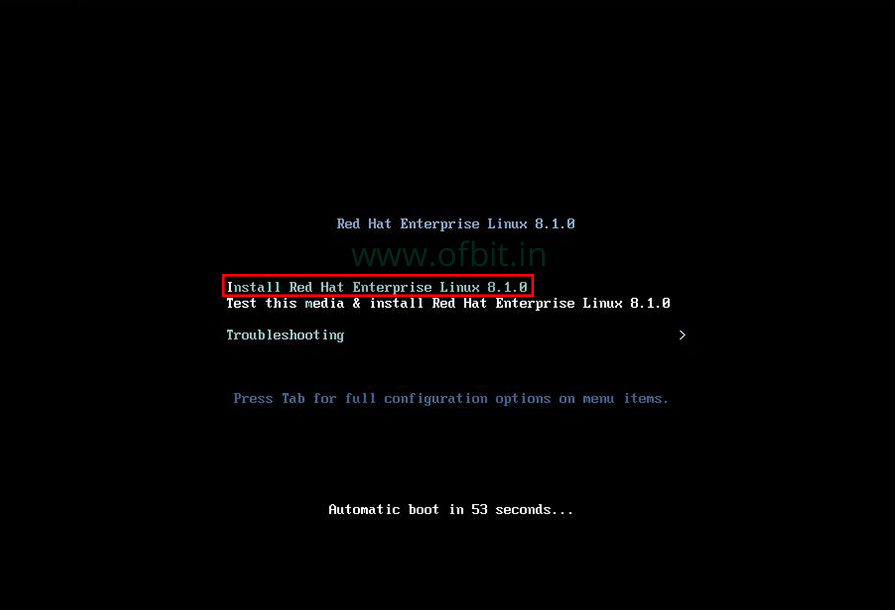
Step 3: Choose the “Install Red Hat Enterprise Linux 8.x” option.
When system boot up and you get the following screen Select the first option “Install Red Hat Enterprise Linux 8.x ” in the boot menu and press Enter.
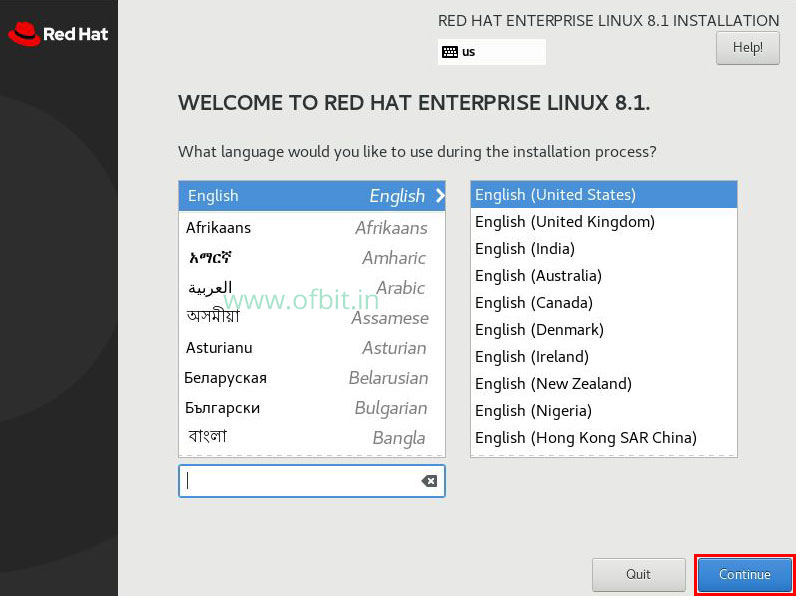
Step 4: Choose a language for RHEL 8 installation
Once the system loads, the Red Hat Enterprise Linux installer started, select your preferred language, and click Continue.
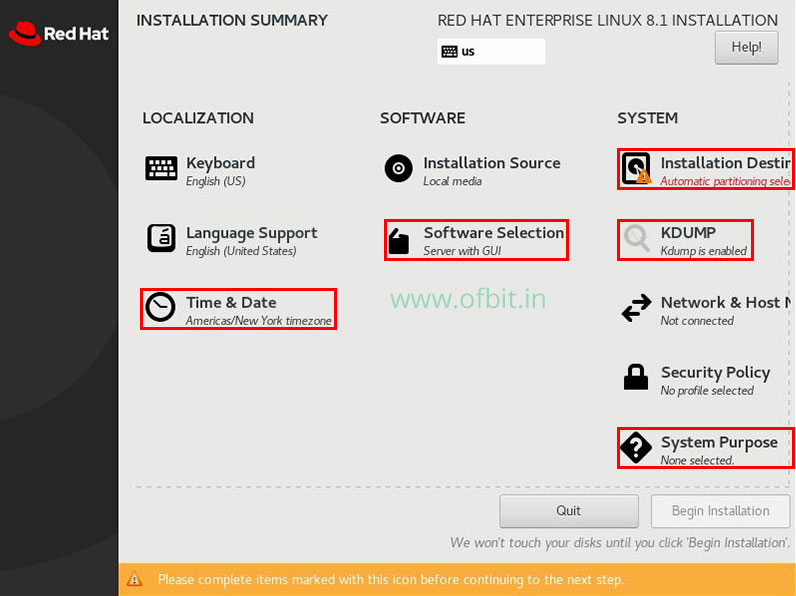
Step 5: Configuring RHEL 8 Installation
In this Installation screen, we have to configure the following at least:
- Time & Date
- Software Selection
- Installation Destination
- KDUMP
- System Purpose
Step 6: Configure Date & Time in RHEL 8 Installation
Starting with Date & Time, set your Region then City. Also set Time, Time format (AM/PM or 24-hour), and Date if not automatically detected. Upon configuration, select Done, return to the Installation Summary.

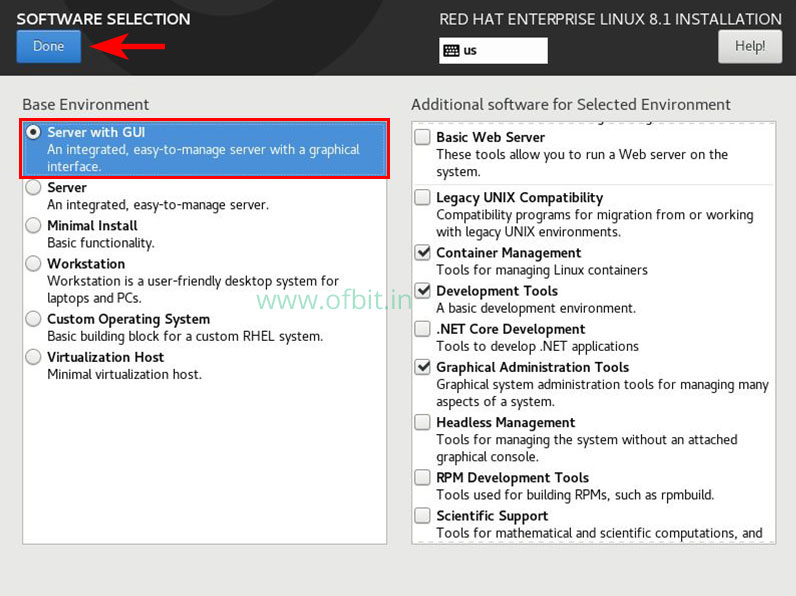
Step 7: Select Software packages for RHEL 8 Installation
As I mentioned at the beginning of this tutorial we will perform a graphical installation, choose Server with GUI from Base Environment. You can select Additional software for the Selected Environment from the right side section.
Click Done.
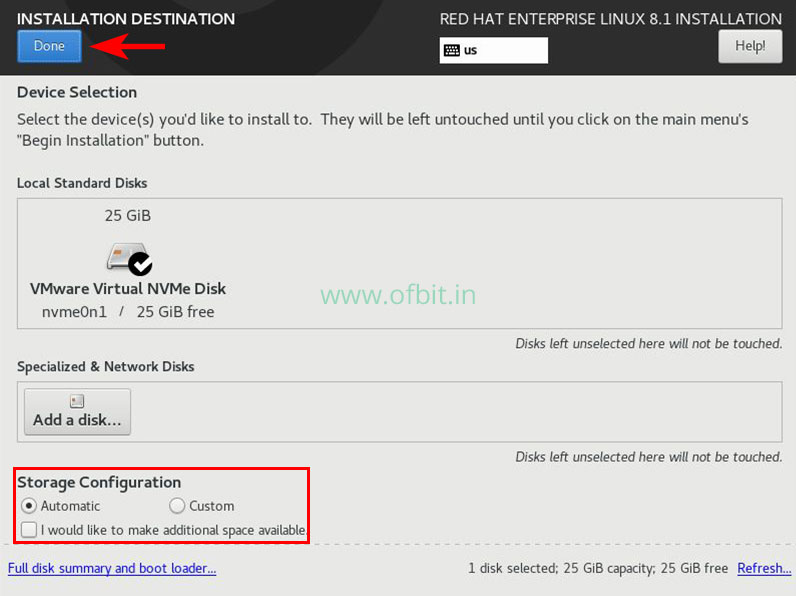
Step 8: Select Storage and Configure Partition
This is the most important step to configure the Disk Partition. There are two options:
First, Automatic. When you select this option, the system will configure the file system. If you are new to the Linux environment, recommend you to choose this option. For the purpose of this tutorial, we will choose Automatic Storage Configuration.
Second, Custom. By choosing this option you can able to configure the File System. If you are familiar with Linux File System, you can choose this option. I Preferred this option with the following partition:
I have around 25GB of free disk space, and will be creating below customize LVM base partitions.
- /boot : 250MB
- / : 20GB
- /home: 2GB
- swap: 4GB (note: better to allocate the amount double of your RAM amount.)
Click Done to return to the Installation Summary.
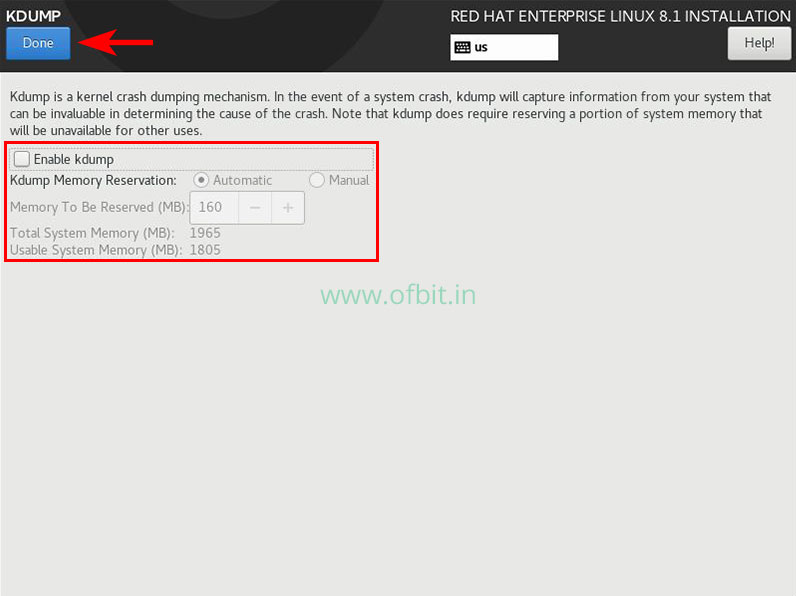
Step 9: KDUMP Configuration
By default, the system will enable the KDUMP option. But, for now, we will Disable it to save disk space. It is always recommended to enable the KDUMP in a production environment.
Click Done.
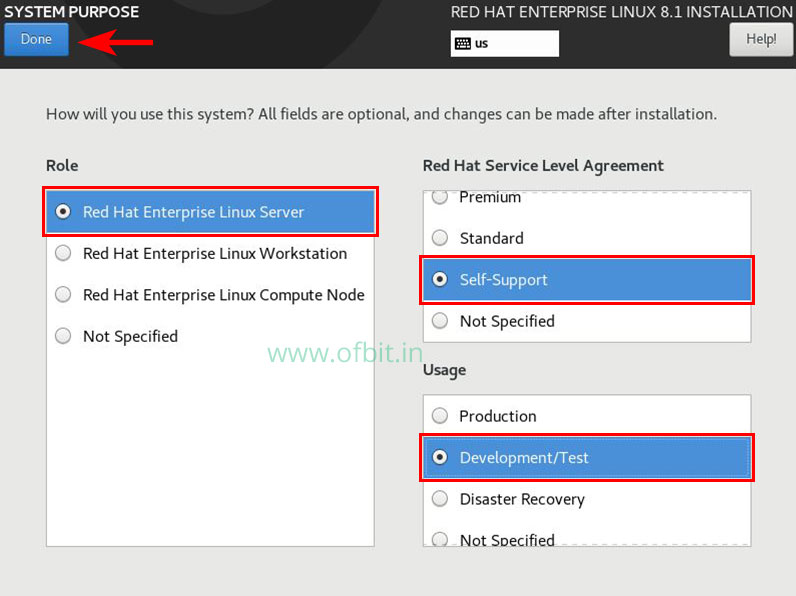
Step 10: System Purpose Selection
This is Optional but gives added reference. Select Role, Red Hat Service Level Agreement, and Usage as marked below.
Click Done to return to the Installation Summary.
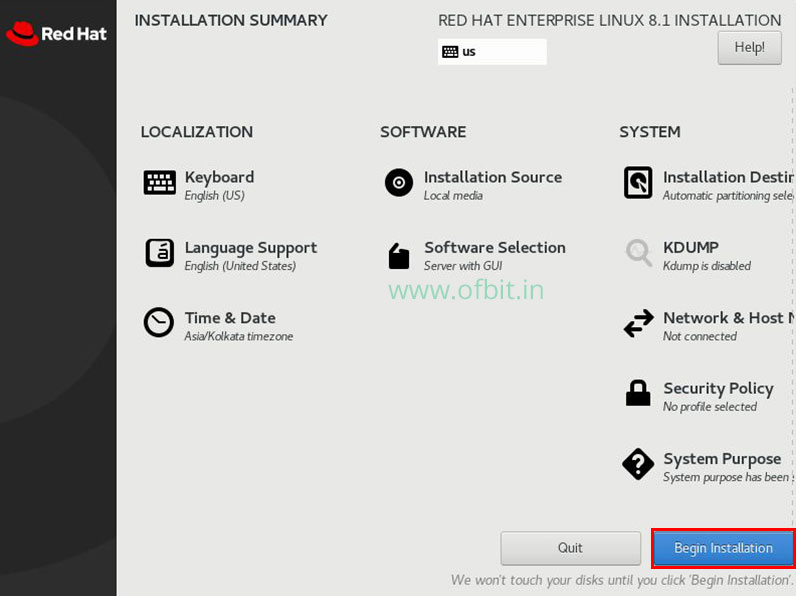
Step 11: Select Begin Installation to start the RHEL 8 Installation
Upon configuration of necessary configuration, click on the Begin Installation button.
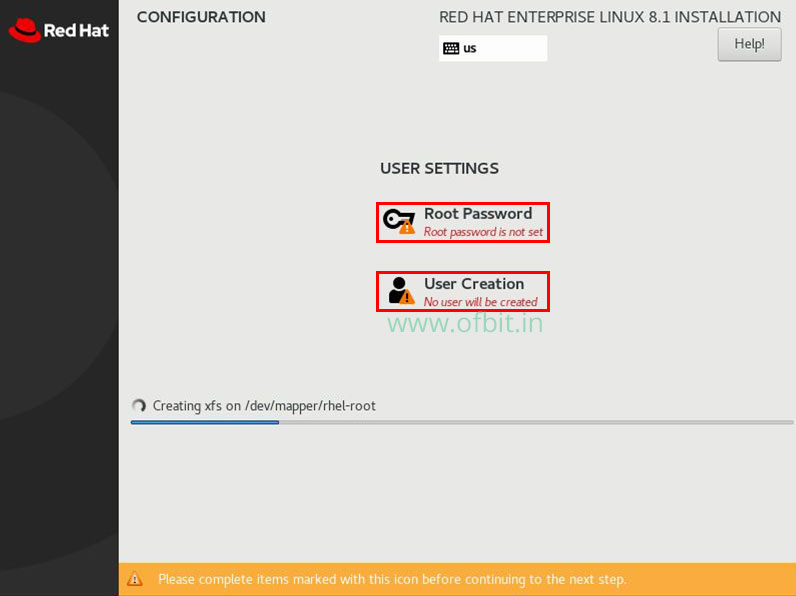
Step 12: Set Root Password and User Creation
Once the Installation starts, we will be able to set the Root Password and create the User Account.
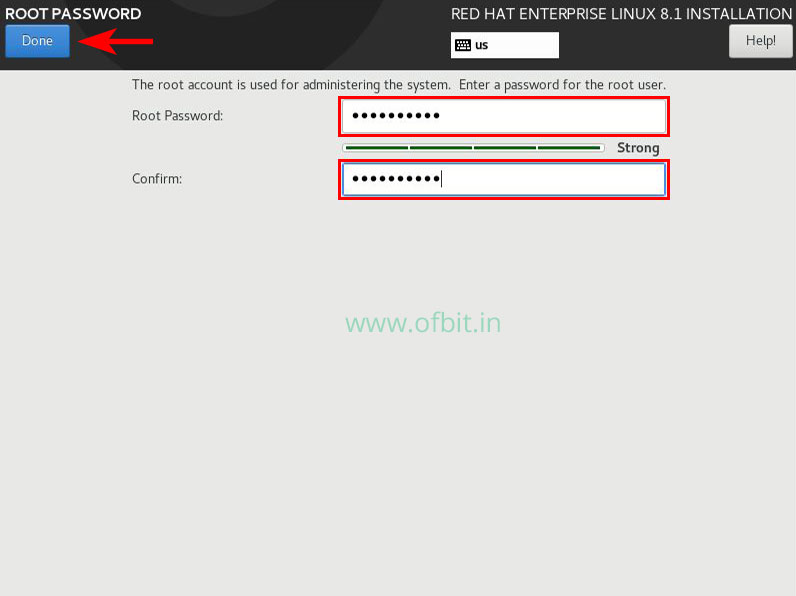
Choose the Root Password setting and put a strong password. Then click Done.
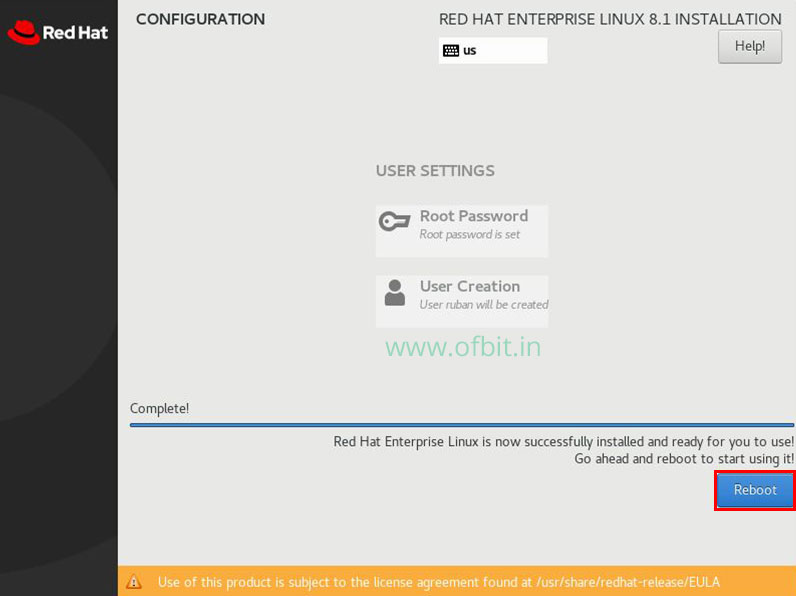
Then Select User Creation setting and set the Local user information, i.e. the Full Name, User name and Password. And click Done.

Once RHEL 8 Installation successfully completed, click the Reboot Button to start using it.
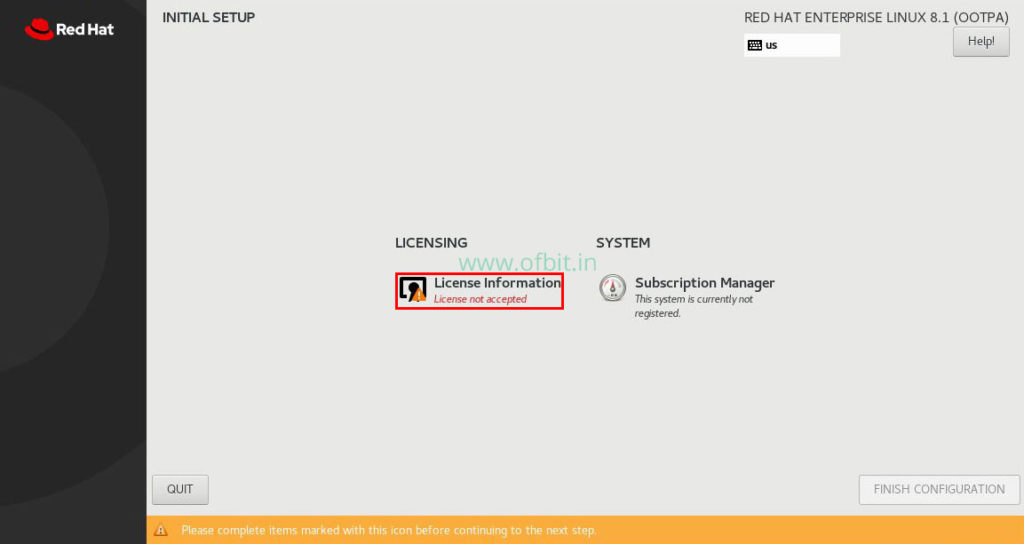
Step 13: Accept Licence Information.
Once reboot, select Licence Information under LICENSING for RHEL 8.
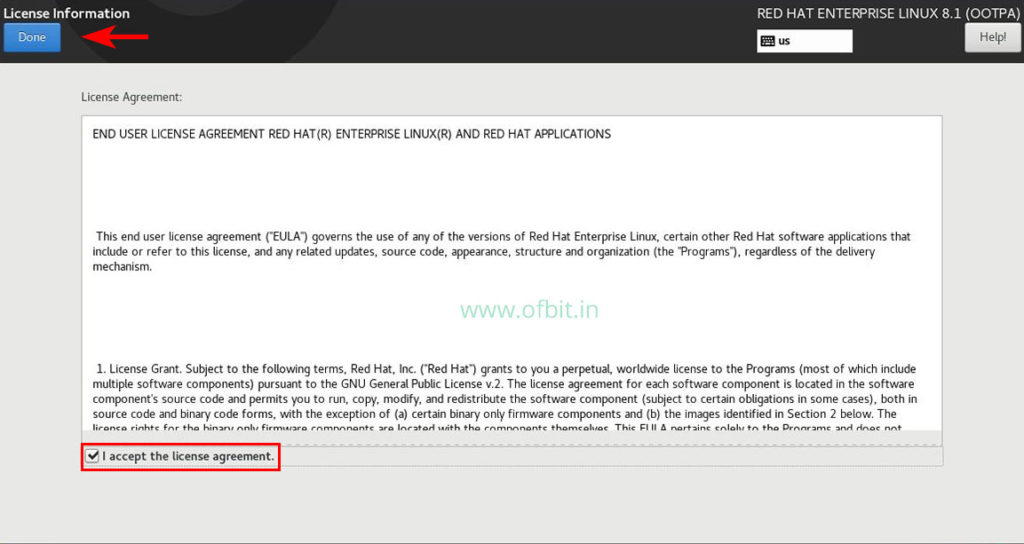
Accept the Licence agreement and Click Done.
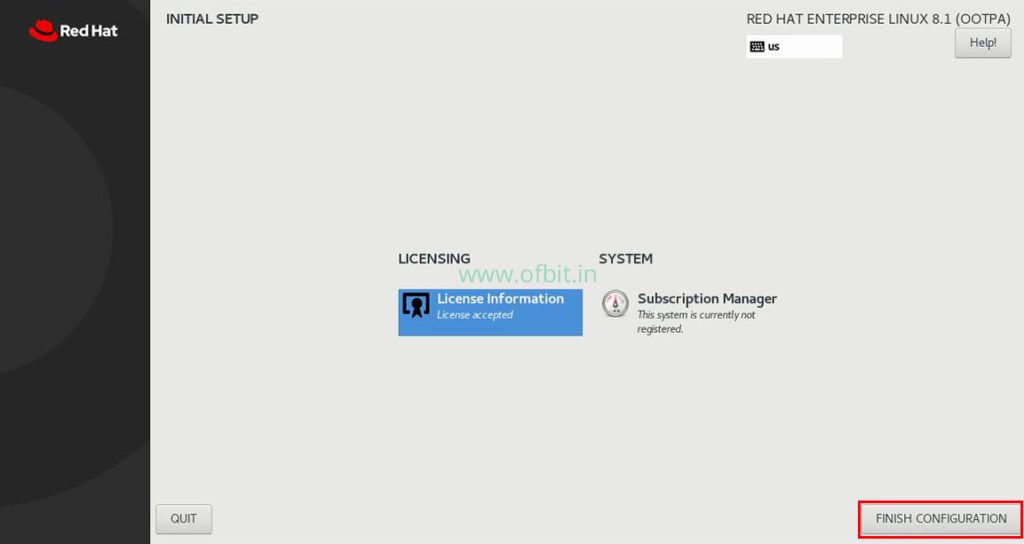
In this screen, Click on FINISH CONFIGURATION button.
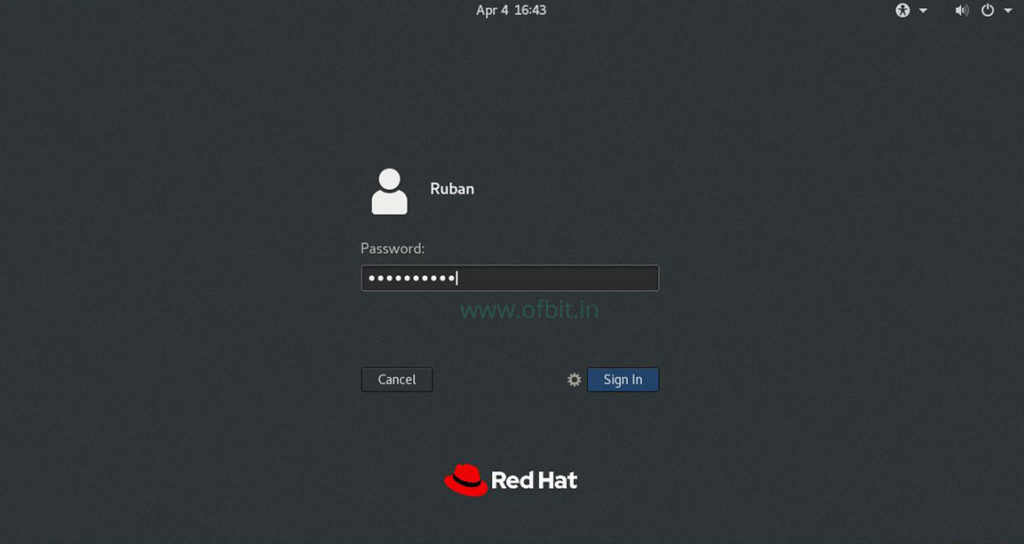
Step 14: Sign in to Red Hat Enterprise Linux 8 Server
Once the Red Hat Enterprise Linux 8 Server with GUI, installation, and configuration completed successfully, use the user name and password to Sign in to it.
Well, Congratulation, now starts exploring the new Red Hat Enterprise Linux 8 Server.
In our future post, we will explore and learn more about Red Hat Enterprise Linux 8 and its options.
Related Questions:
- How to install RedHat Linux
- Redhat Install
- Performing a standard RHEL Installation
- How To Install RHEL 8 with screenshots
- Red Hat 8 Install Guide
- How to Download and Install RHEL8 For Free
Saved as a favorite, I really like your blog!